How to Design a Custom Xbox Gamerpic
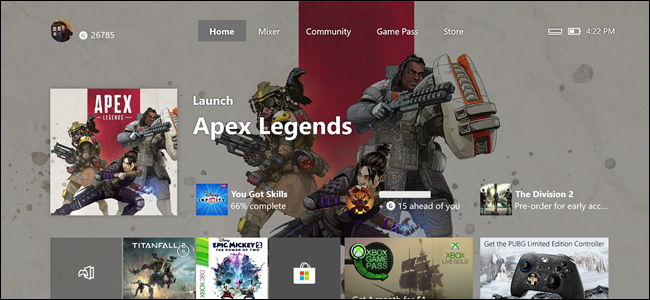
As an Xbox gamer, you know how important a gamerpic can be. It’s your virtual face, your identity in the Xbox community, and it’s often the first impression other gamers will have of you. While there are plenty of great gamerpics available to choose from, creating your own custom Xbox gamerpic can be a fun and rewarding experience that sets you apart from the pack. In this article, we’ll show you how to design a custom Xbox gamerpic that reflects your gaming persona.
Step 1: Choose Your Design Software
First things first; you need to choose the software you’ll use to design your custom Xbox gamerpic. There are a lot of options out there, from the industry-standard Adobe Photoshop, to free and open source options like GIMP and Krita. If you’re new to design or just want an easy-to-use tool, you might consider using Microsoft’s own Paint 3D software. This tool is available for free on Windows 10 and comes with a beginner-friendly interface and a range of 3D objects and stickers you can use in your design.
Step 2: Choose Your Design Elements
Now that you have your design software ready, it’s time to choose the elements you want to include in your custom Xbox gamerpic. This could be anything from a picture of your favorite game character, to a symbol or logo that represents you. If you’re using Paint 3D, you can use the built-in stickers and 3D objects to create a unique design. Alternatively, you can use your own images or download free stock photos and graphics from sites like Unsplash, Pixabay, or Freepik.
Step 3: Create Your Design
With your design elements ready, it’s time to start creating your custom Xbox gamerpic. If you’re using Paint 3D, simply open the app, choose the canvas size (recommended size for Xbox gamerpics is 1080×1080 pixels) and start adding your design elements using the 3D objects or stickers. If you’re using other software, create a new document with the same size, and start adding your elements. You can adjust the size, color, and positioning of your elements until you’re happy with your design.
Step 4: Finalize Your Design
Once you’ve created your custom Xbox gamerpic, it’s time to finalize it. Make sure your design file is saved in a compatible format like JPG or PNG. If you’re using Paint 3D, click on the “Export” button and select “2D – PNG” as the output format. Then, head over to the Xbox website or the Xbox app on your console or PC, and sign in with your Xbox account. From there, go to your profile and click on “Customize profile.” Under the “Profile Picture” section, click on “Upload a custom image” and select your design file. Xbox will process your image, and once it’s approved, your custom gamerpic will be ready to show off!
In conclusion, designing a custom Xbox gamerpic can be a creative and fun way to express your gaming persona. By following these simple steps, you can create a unique and eye-catching gamerpic that represents you in the Xbox community. So, grab your controller, fire up your design software, and get ready to show the world your custom Xbox gamerpic!

