How to Connect a Chromebook to a Projector

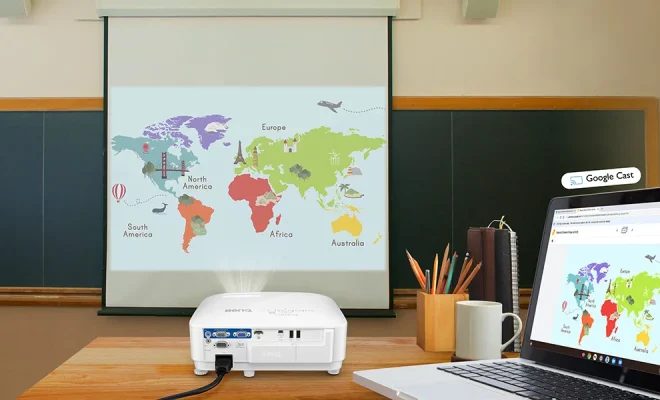
For those who use a Chromebook for work or school, connecting your device to a projector can be essential. Whether you need to show a group presentation or lecture, or just want to watch a movie on a bigger screen, knowing how to connect your Chromebook to a projector is important. Fortunately, the process is fairly straightforward and can be done in just a few steps. Here is a simple guide on how to connect a Chromebook to a projector.
Step 1: Determine the Type of Connection Your Projector Requires
The first step in connecting your Chromebook to a projector is to determine the type of connection your projector requires. Many projectors will have a VGA or HDMI port, while some may have a DisplayPort or USB-C port. You’ll need to know which type of port your projector has in order to know what cable or adapter to use.
Step 2: Acquire the Necessary Cable or Adapter
Once you’ve determined the type of connection your projector requires, you’ll need to acquire the necessary cable or adapter. For example, if your projector has a VGA port, you’ll need a VGA cable to connect your Chromebook. If your projector has an HDMI port, you’ll need an HDMI cable or an HDMI-to-VGA adapter if your Chromebook only has a VGA port. There are also USB-C-to-VGA or USB-C-to-HDMI adapters available if your projector supports those types of connections.
Step 3: Connect Your Chromebook to the Projector
Once you have the necessary cable or adapter, it’s time to connect your Chromebook to the projector. Make sure both devices are turned off before you connect them. Then, connect one end of the cable or adapter to your Chromebook and the other end to the matching port on the projector. Turn on both devices and select the correct input on the projector to see the display from your Chromebook.
Step 4: Adjust Settings on Your Chromebook
Sometimes, your Chromebook might not immediately recognize the projector and display settings. In that case, you’ll need to adjust the display settings on your Chromebook. You can do this by going to the settings menu on your Chromebook and selecting “Device,” then “Displays.” From there, you can adjust the display resolution, orientation and other settings to ensure the display is correctly configured for the projector.
Step 5: Enjoy Your Presentation
Once everything is set up and configured, you can finally start your presentation or movie. Enjoy the big-screen experience provided by your projector, and remember to disconnect your Chromebook from the projector once you’ve finished using it.
In conclusion, connecting a Chromebook to a projector is a straightforward process. By following these simple steps, you can quickly and easily connect your Chromebook to any projector and enjoy your presentations, movies or other media on a bigger screen.


