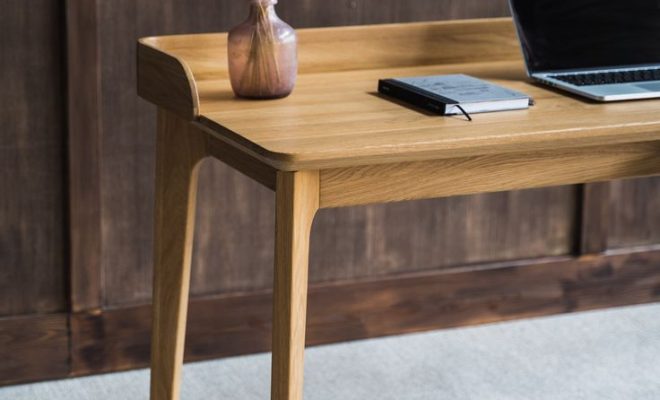
How to Build a Desk: 15 Steps

Building a desk is an excellent way to create a functional and stylish piece of furniture that meets your specific needs. With the right tools, materials, and a little bit of time and effort, you can have a custom desk in no time. Follow these 15 steps to help you build your perfect workspace.
1. Choose your design: The first step is selecting the design for your desk. Browse through online inspiration or sketch out your ideas. Consider factors like size, shape, and storage requirements.
2. Measure your space: Before starting the project, measure the space where you plan to place the desk, and ensure it fits comfortably within the room.
3. Create a detailed plan: Draft a detailed blueprint of your design, including dimensions, materials, and tools needed.
4. Gather materials: Purchase all necessary materials, such as plywood, lumber, and fasteners based on your plan.
5. Gather tools: Ensure you have all required tools including a saw, drill, screws or nails, wood glue, sandpaper and paint or stain.
6. Prepare wood surfaces: Sand your wood pieces using sandpaper until all edges are smooth.
7. Assemble the base: Begin by constructing the base of the desk – typically legs or cabinets to support the tabletop.
8. Add storage (if applicable): If your design includes cabinets or shelves, construct these elements and attach them to the base.
9. Assemble the desktop: Construct the desktop by attaching wooden planks together using wood glue and screws or nails.
10. Attach the desktop to the base: Securely place your desktop on top of the base and fasten it in place with screws or brackets.
11. Reinforce joints: Check each joint to ensure it’s sturdy; reinforce them with additional brackets if necessary.
12. Fill gaps and cracks (optional): If there are any visible gaps or cracks in the assembled desk, fill them with wood filler and allow to dry.
13. Sand and finish: Sand down any rough spots, wipe away sawdust, and apply a coat of paint or stain as desired.
14. Add hardware: Attach knobs, handles, or other decorative hardware to drawers and cabinets.
15. Place your desk in its designated location: Carefully move your completed desk into its final position in the room.
With a bit of planning, patience, and some hard work, you can create a functional and stylish custom desk that meets your needs. Now it’s time to sit back, admire your handiwork, and start enjoying your new workspace!


