
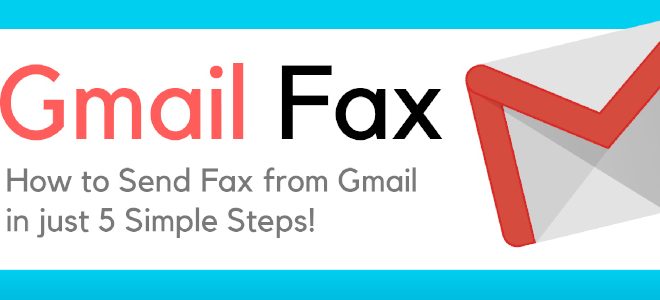
How to Send Faxes from Gmail
In today’s fast-paced world, sending documents through email has become the norm. However, there are still instances where you need to send a fax to ensure the security and privacy of sensitive information. Believe it or not, you can actually send faxes from your Gmail account! In this article, we’ll guide you through the steps to send faxes easily and efficiently using Gmail.
1. Choose an Online Fax Service:
The first thing you need to do is select an online fax service that supports faxing through email. Some popular options include FaxBurner, eFax, HelloFax, and RingCentral Fax. These services usually offer a free trial period or a limited number of free faxes each month. Sign up for the service that best meets your needs.
2. Confirm Your Email Address:
After signing up for an online fax service, you’ll be asked to confirm your email address to link it with their system. Check your inbox for a verification email from the fax service provider and follow the instructions provided in the email.
3. Create a New Email in Gmail:
Log in to your Gmail account and click on “Compose” to create a new email. This will open a blank draft where you can start preparing your fax.
4. Enter the Recipient’s Fax Number as an Email Address:
In the “To” field of your new email draft, enter the recipient’s fax number followed by the “@” symbol and your chosen online fax service’s domain (e.g., @hellofax.com). For example, if you want to send a fax to 123-456-7890 using HelloFax, type “[email protected]”. Each online fax service will have its format for converting fax numbers into email addresses—be sure to consult their documentation for specific instructions.
5. Attach Documents:
Attach any necessary files directly to your email by clicking on the paperclip icon. Supported formats usually include PDF, DOC, JPG, or TIFF files. Check the specific instructions provided by your online fax service for any file format limitations.
6. Add a Cover Page (Optional):
If you want to include a cover page, add a subject line to your email and write a brief note in the body of the email. Your online fax service will then convert the subject line and email body content into a cover page.
7. Send Your Fax:
Click on the “Send” button to submit your fax. Your online fax service will convert your email and attachments into a fax format and send them to the recipient’s fax number.
8. Confirmation:
Once your fax has been successfully sent, you’ll receive a confirmation email from your online fax service provider, indicating that your fax has been delivered.
And that’s it! By following these simple steps, you can send faxes directly from your Gmail account without needing a physical fax machine or telephone line. Explore different online fax services to find the one that best fits your needs and start sending faxes through Gmail today.

