How to Insert & Paint 3D Models in Paint 3D
Do you want to add more depth and dimension to your paintings in Paint 3D? There is a feature that allows you to insert and paint 3D models within the application. Here are the steps on how to use it:
Step 1: Open Paint 3D
Launch Paint 3D by selecting the icon from the Start menu or search for it using the search bar.
Step 2: Choose a 3D Model
On the top menu, click on the “3D Models” icon. This will open a menu with various pre-built 3D models to choose from, or you can create your own. Select the 3D model that you want to add to your canvas by clicking on it.
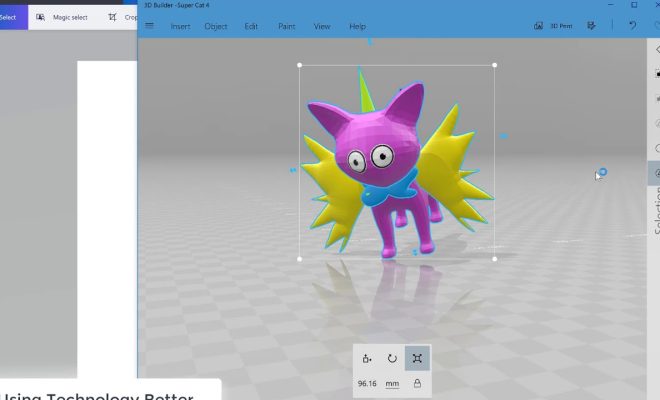
Step 3: Insert the Model
Once you’ve selected the 3D model, it will appear on your canvas. You can resize and move the 3D model by using the handles on the edge of it.
Step 4: Paint the Model
Now it’s time to add color to your 3D model. You can choose from a variety of textures located on the right-hand menu and apply them to the model with the paintbrush tool. Alternatively, you can create your own custom texture by selecting “Add Texture” and uploading an image from your computer or camera.
Step 5: Adjust the Lighting
To add more realism to your 3D model, you can adjust the lighting. On the top menu, click on the “Light” icon. This will open a menu where you can adjust the position, intensity, and color of the light.
Step 6: Save Your Work
When you’re done painting your 3D model, click on the “Menu” icon on the top left-hand corner and select “Save As” to save your work. You can choose to save it as an image, video, or 3D model.
In conclusion, Paint 3D offers a simple and intuitive way to insert and paint 3D models, giving your artwork a whole new level of creative possibilities. Follow these easy steps and you’ll be on your way to creating impressive 3D art pieces in no time!