How to Digitally Sign a Microsoft Word Document

Digitally signing a document is the best way to ensure its authenticity and integrity in the digital world. With the increasing trend of remote work, it has become essential to use digital signatures to maintain the security of electronic documents. Microsoft Word is one of the most widely used word processing software, and this article will guide you on how to digitally sign a Microsoft Word document.
Step 1: Install a digital signature certificate
To digitally sign a Word document, you need to have a digital signature certificate from a recognized certificate authority. You can obtain a digital signature certificate by purchasing it from a certificate authority or getting one from your organization’s IT department.
Step 2: Create your digital signature
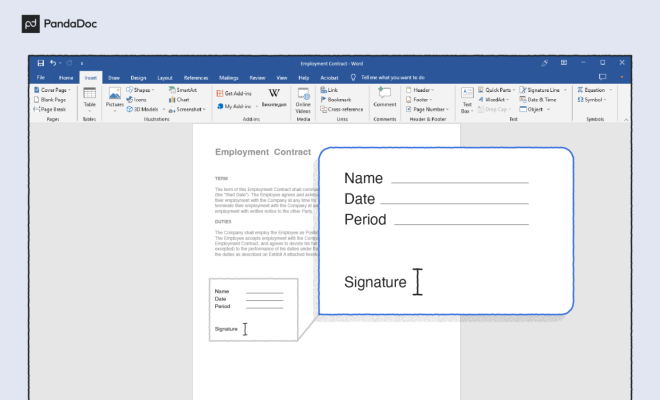
Once you have your digital signature certificate, you can create your digital signature. In Microsoft Word 2013 or later versions, click on the “Insert” tab and select “Signature Line” from the “Text” group. In the Signature Setup dialog box, enter your name and optional details such as title, email address, and instructions.
Step 3: Sign your Word document
To sign your Word document, click on the signature line that you created in Step 2. A notification will pop up asking you to confirm that you want to sign the document. Click “Sign” to digitally sign the document.
Step 4: Save your digitally signed document
After signing the document, save it to preserve your digital signature. To ensure that the document remains unaltered, it is advisable to save it in PDF format.


