How to Create Custom Scenes for Philips Hue Smart Lights

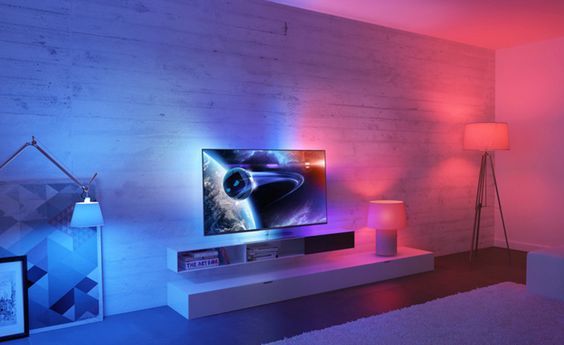
Philips Hue smart lights are the perfect lighting solution to transform your living spaces into a beautifully lit wonderland. The best part about using the Philips Hue smart lights is the option to create your custom scenes that suit your unique preferences. So, if you want to know-how, read on.
Here’s how to get started with creating custom scenes for Philips Hue smart lights:
1. Download the Philips Hue app
The Philips Hue app comes with an array of features that allow you to customize your lighting scenes easily. To begin, you need to download the app from your app store.
2. Create a Philips Hue account
Once you’ve downloaded the app, the next step is to create a Philips Hue account. This is essential because it allows you to save your customized scenes in the cloud, which means you can access them anytime and anywhere.
3. Set up your Philips Hue smart lights
If you haven’t set up your Philips Hue smart lights yet, you need to do so before proceeding. The lights come with an installation guide that provides step by step instructions to install the light bulbs.
4. Add your lights to the app
After installing the light bulbs, add them to the Philips Hue app. The app allows you to control your lights in different rooms separately, making it easier to set up customized scenes. Click on the “Settings” gear icon, then click “Room Setup,” then “Add Rooms” to add the rooms that you want to create scenes for.
5. Create a scene
Once you’ve added your lights to the app, click on the “Scenes” tab. You’ll see a few default scenes made by Philips Hue, but you can create your custom scene by clicking the “Create Scene” button.
6. Choose your lights
You can choose the lights you want to include in your scene by toggling them on or off. Make sure to choose the lights you want the scene to work for as the default scene.
7. Adjust the scene
The app gives you many options to adjust your scene, like the type of lighting, the color, and the brightness. Be sure to experiment with different combinations until you achieve the desired effect.
8. Name your scene
Once you’re done setting up your scene, give it a unique and descriptive name, so you can easily identify it.
9. Add your scene to your routine
Finally, if you want your customized scene to turn on automatically at a specific time, for example, when you wake up, you can add the scene to the custom routine. Click “Routines,” “Custom,” then “Add Action.”
Congratulations! You’ve just created your custom scene with Philips Hue smart lights. The app allows you to save up to 100 scenes, so you can keep creating more custom scenes until you’re satisfied with your living space’s ambiance.


