Top 6 Ways to View Wi-Fi Signal Strength in Windows 11
With the launch of Windows 11, there are several features and functionalities that make it stand out from its predecessor. One of these features is the ability to view Wi-Fi signal strength, which is an essential tool for troubleshooting internet connectivity issues. Here are the top six ways to view Wi-Fi signal strength in Windows 11.
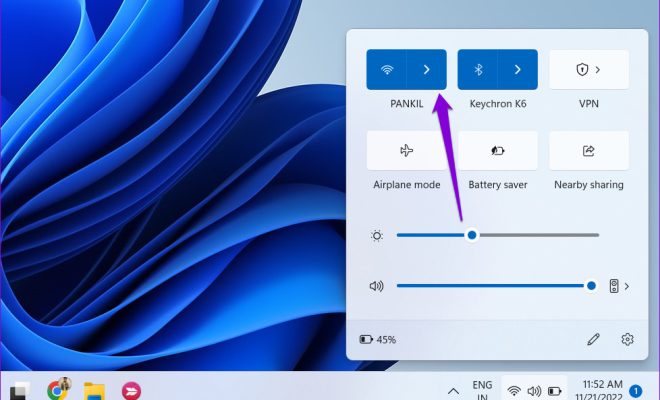
1. Using the Taskbar
The taskbar is the fastest and easiest way to view Wi-Fi signal strength in Windows 11. Simply click on the Wi-Fi icon in the taskbar and the current signal strength will be displayed in bars. The more bars, the stronger the signal.
2. Using the Network Settings
Windows 11 allows you to view the signal strength of all available Wi-Fi networks in your area through the Network settings. Open the Network settings by clicking on the Wi-Fi icon in the taskbar and selecting “Network & internet settings”. Under the “Network & internet” section, select “Wi-Fi” and click on “Advanced options”. The signal strength of all available Wi-Fi networks will be displayed under the “Wi-Fi networks” section.
3. Using Command Prompt
Another way to view Wi-Fi signal strength in Windows 11 is by using Command Prompt. Open Command Prompt as an administrator and type “netsh wlan show interfaces” and press enter. This will display the signal strength of the current Wi-Fi network under the “Signal” section.
4. Using PowerShell
PowerShell is another command-line tool that can be used to view Wi-Fi signal strength in Windows 11. Open PowerShell as an administrator and type “Get-NetAdapterWi-Fi | select Name, InterfaceDescription, Status, MediaStatus, ReceiveLinkSpeed, TransmitLinkSpeed, SignalBars” and press enter. This will display a list of Wi-Fi adapters and their corresponding signal strength in bars.
5. Using Network Analyzer
Network Analyzer is a third-party tool that can be used to monitor Wi-Fi signals in real-time. Download and install Network Analyzer from the Microsoft Store. Launch the app and click on the “Wi-Fi Analyzer” tab. This will display a visual representation of all Wi-Fi signals in your area, including their signal strength.
6. Using Wi-Fi Analyzer
Wi-Fi Analyzer is another third-party tool that can be used to view Wi-Fi signal strength in Windows 11. Download and install Wi-Fi Analyzer from the Microsoft Store. Launch the app and it will display a visual representation of all Wi-Fi signals in your area, including their signal strength.
In conclusion, these are the top six ways to view Wi-Fi signal strength in Windows 11. With the help of these tools, you can troubleshoot any Wi-Fi connectivity issues and ensure that you have a stable and strong internet connection.