How to Use HDMI Out on Laptop to Exernal Monitor
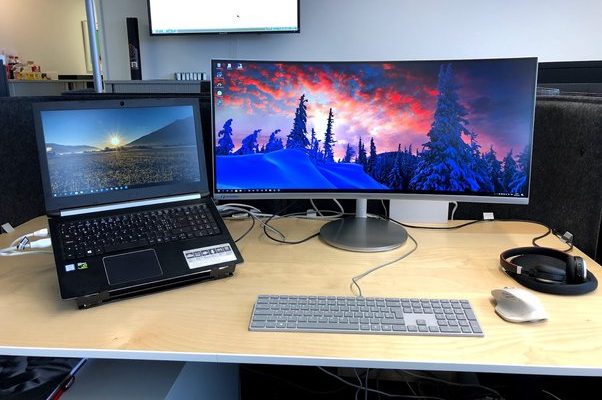
In this day and age, the use of computers has become an inevitable part of our lives. With the advent of technology, everything has become digital. Be it viewing movies, streaming videos, or gaming, laptops have become our go-to devices. Despite the fact that laptops have become more advanced and feature-packed, the screen size is still a constraint. This is where the HDMI out on a laptop comes in. It can be used to extend or mirror the laptop display to an external monitor, allowing you to enjoy your favorite content on a bigger screen.
Here’s a guide on how to use HDMI out on your laptop to an external monitor.
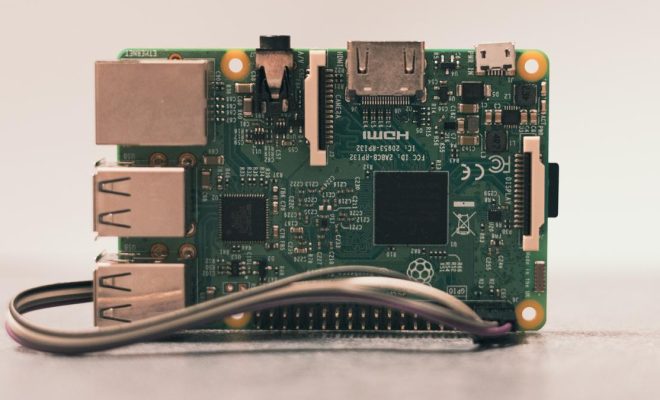
1. Identify your laptop’s HDMI port
First and foremost, you need to check if your laptop has an HDMI port. The HDMI port is usually located on the side or at the back of the laptop. It is a thin, rectangular port that is easy to identify.
2. Check the external monitor’s compatibility
Before connecting the HDMI cable to an external monitor, ensure that the monitor has an HDMI input port.
3. Connect the HDMI cable
Once the compatibility check is done, connect one end of the HDMI cable to the laptop’s HDMI port and the other end to the external monitor’s HDMI input port.
4. Configure the display settings
Once connected, you need to configure the display settings of your laptop to ensure that the external monitor works correctly.
a. For Windows laptop:
Open the “Display settings” by right-clicking on the desktop and selecting “Display settings.” You can also search for “Display settings” in the search bar. From there, click on “Detect” to identify the external monitor. After detecting the monitor, you can choose between “Extend” or “Duplicate” display options. If you select “Extend,” then the external monitor will act as an extension to your laptop’s display. On the other hand, if you choose “Duplicate,” the external monitor becomes an identical copy of your laptop screen.
Note: You can also adjust the display resolution and orientation in the display settings based on your preferences.
b. For macOS laptop:
On a Mac, the procedure is almost the same. Connect the HDMI cable and go to “System Preferences” > “Displays.” Once in the display settings, you can choose to “Mirror” your laptop’s display or “Extend” it. You can adjust the resolution settings based on your preference.
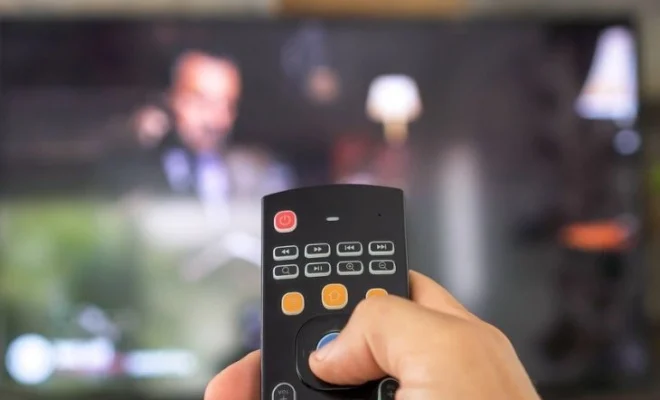
5. Test and enjoy
After configuring the display correctly, you can test the external monitor by opening any file or application on your laptop. The content should appear on the external monitor now. You can enjoy your favorite content on a bigger screen than your laptop’s display.
In conclusion, using HDMI out on your laptop to an external monitor is an easy and efficient way to enjoy content on a bigger screen. By following the guide mentioned above, you can seamlessly extend or duplicate your laptop’s display to an external monitor.