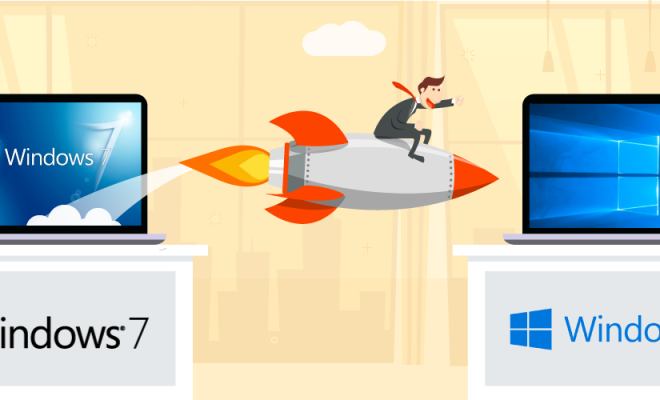
How to Upgrade From Windows 7 to Windows 10

Upgrading from Windows 7 to Windows 10 is a process that can be daunting for some, but it is much easier than many users might think. With some careful planning and preparation, upgrading your computer to Windows 10 can be a smooth and seamless transition. In this article, we’ll take a closer look at how you can upgrade from Windows 7 to Windows 10.
1. Check Your Computer Compatibility
The first step to upgrading from Windows 7 to Windows 10 is to ensure that your computer is compatible with the new operating system. You can do this by running the free Microsoft Upgrade Assistant, which will scan your computer and provide you with a detailed report on its compatibility with Windows 10. If your computer is not compatible, you may need to upgrade some hardware components, such as RAM or the graphics card, to make it work.
2. Back Up Your Data
When upgrading from Windows 7 to Windows 10, it’s important to back up your important data files, including documents, photos, music, and videos. You can use an external hard drive, a USB flash drive, or cloud storage services to back up your data. This is important in case anything goes wrong during the upgrade process, so you don’t lose any important files.
3. Download and Install Windows 10
The next step is to download and install the Windows 10 operating system. You can do this by visiting the Microsoft website and downloading the Windows 10 upgrade assistant. Once the download is complete, run the setup file and follow the on-screen instructions. The upgrade process may take up to an hour, depending on your computer’s hardware specifications.
4. Configure Windows 10
After the installation process is complete, you will need to configure Windows 10 to your preferences. This includes setting up your user account, creating passwords, and customizing your desktop. You should also check that all your hardware devices are functioning correctly by opening the Device Manager and checking for any missing drivers.
5. Install Your Programs
The final step in the upgrade process is to reinstall all the programs you had installed on your previous operating system. You can do this by locating the installation files or CDs, and running them on your new Windows 10 operating system. Make sure to install any necessary drivers and updates for your programs.
In conclusion, upgrading from Windows 7 to Windows 10 is a simple process that requires some careful planning and preparation. If you follow the steps outlined in this article, you can easily upgrade your operating system and enjoy all the benefits of Windows 10, including faster start-up and shut down times, a better and more user-friendly interface, as well as improved security features. So, don’t wait any longer, upgrade to Windows 10 now!


