
How to Swap Hard Disk Drive Platters
Introduction:
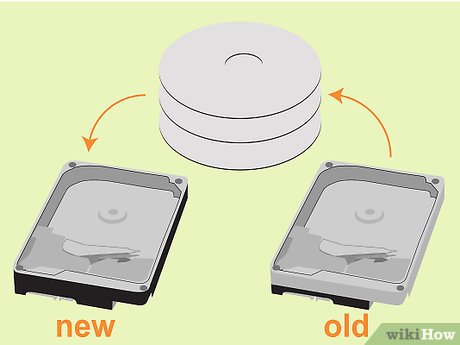
Hard disk drive (HDD) platter swapping is a complex and delicate process mainly used in data recovery scenarios when the drive becomes dysfunctional or severely damaged. The HDD platters contain the data that you’ve stored on your computer, and by swapping them, you can essentially transfer your data to another, more functional hard disk. It’s crucial to note that HDD platter swapping requires a high level of accuracy, precision, and technical knowledge. This guide will walk you through the basic steps on how to swap HDD platters.
1. Gather essential tools and create a sterile working environment:
Before starting the process, make sure you have all the necessary tools required for dismantling and reassembling the HDD:
– T8 and T6 screwdrivers
– Torx screwdriver set
– Tweezers
– Anti-static gloves and wrist strap
– A clean and sterile working surface
Ensure that your workspace is clean and completely dust-free. HDDs are extremely sensitive to dust, so even the tiniest specks can cause damage.
2. Open the hard disk drive:
Begin by locating the screws that hold the top cover of your HDD in place. Carefully remove these screws using a T8 screwdriver or any other appropriate size torx screwdriver. Gently lift off the cover while making certain not to touch any components within the drive.
3. Remove any stoppers or parking ramps:
Some hard disk drives may have a parking ramp or stopper for the read/write heads when they are not in use. You’ll want to carefully remove these using tweezers. Keep track of where they belong in order to reinstall them later accurately.
4. Unscrew and remove the write head assembly:
The read/write head assembly will need to be removed next; locate the screws securing this component in place. Use a T6 screwdriver to remove these screws carefully. Detach the write head assembly from the drive, making sure not to touch the read/write heads or let them come into contact with any surfaces.
5. Extract the HDD platters:
This step requires a significant amount of precision and care. Locate the spindle motor that holds the platters. You will see a central screw holding down a retaining ring. Remove the screw and lift off the retaining ring before proceeding.
Using tweezers, gently lift the first platter from the spindle by gripping its edges, taking extra care not to touch its surfaces. Repeat this process for all remaining platters. Keep track of their order and orientation to ensure correct reassembly later.
6. Swap platters in your destination hard drive:
Repeat steps 2-4 on your destination hard drive to expose the internal components and prepare it for the new set of platters you have removed from your original HDD.
Place the original platters onto your recipient hard drive’s spindle motor in their original order and orientation. Secure them back in place using the same retaining rings and screws that you removed earlier. Reinstall any parking ramps or stoppers as needed.
7. Reassemble both hard disk drives:
Reverse through steps 2-4 once again on both hard drives, putting everything back together in its rightful place, including read/write head assembly and HDD cover.
Conclusion:
Swapping HDD platters is a challenging task requiring specialized tools and expert knowledge. Due to its complexity, it is strongly recommended that you consult with or rely on data recovery professionals if you encounter problems with your hard disk drive. Nonetheless, understanding the process can help you appreciate the effort involved in salvaging your valuable data in such scenarios.

