How to Mirror an Image in Microsoft Word
Microsoft Word is a powerful word processing tool that offers a range of editing and formatting options. One useful feature is the ability to mirror an image. This can be helpful when you need to flip an image horizontally or vertically for a particular effect. In this article, we will outline step-by-step instructions for Mirroring an Image in Microsoft Word.
Step 1: Open Microsoft Word
Launch Microsoft Word by double-clicking on the application icon on your desktop.
Step 2: Insert Image
Insert the image you wish to mirror by clicking on the “Insert” tab and then selecting “Picture”. You can either choose a file saved on your computer or use the option to search for an image online.
Step 3: Select Image
Once you have inserted the image into your document, select the image by clicking on it.
Step 4: Navigate to Format Tab
In the top menu ribbon, click on the “Format” tab to access the image formatting options.
Step 5: Click on Rotate
Under the “Format” tab, click on “Rotate” located in the “Arrange” section.
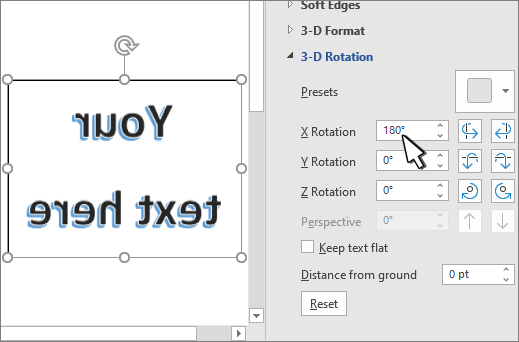
Step 6: Choose Flip options
After clicking on “Rotate”, a dropdown menu will appear showing a range of flip and rotation options for your image. Select either “Flip Horizontal” or “Flip Vertical”, depending on which direction you want to mirror the image.
Step 7: Apply Flip
Click on your desired flip option, and your image will be mirrored.
Step 8: Save Document
Once you are satisfied with your mirrored image, save the document by clicking on “File” and then selecting “Save” or “Save As” if it’s a new document.
In conclusion, Microsoft Word is an excellent tool for documents and presentations, and the option to mirror images can be particularly useful when creating documents that require visual elements. By following these simple steps, you can easily mirror images in Microsoft Word, and make your documents more impactful.