
How to Make a Wristband: 12 Steps
Wristbands are versatile accessories that can be used for identification, expressing personal style, or promoting a cause you believe in. Creating your wristband is not just fun, it’s also easy! Follow these 12 simple steps to make your unique wristband.
1. Choose the material: The first step is to decide on the material you want to use for your wristband. Popular choices include rubber silicone, fabric, leather, and plastic.
2. Measure your wrist size: Use a flexible measuring tape to measure the circumference of your wrist and add approximately half an inch to the measurement for comfort.
3. Determine the width: Decide how wide you want your wristband to be. This is usually between 0.5 inches and 1 inch.
4. Choose a design: Consider incorporating patterns, symbols, or text into your wristband design. Browse online for inspiration or create a unique design that reflects your personality or supports a cause close to your heart.
5. Gather necessary materials and tools: Depending on the type of wristband you are making, gather materials like silicone rubber sheets, fabric strips, leather straps, clasps or closures, scissors, rulers, hole punches, sewing needles, and adhesive glue.
6. Cut the material: Following your measurements from steps 2 and 3, carefully cut the material into the desired shape using scissors or a precision knife.
7. Add design elements: Use fabric markers, stencils or stamps to add designs directly onto the material or sew shapes onto the fabric using thread in complementary colors.
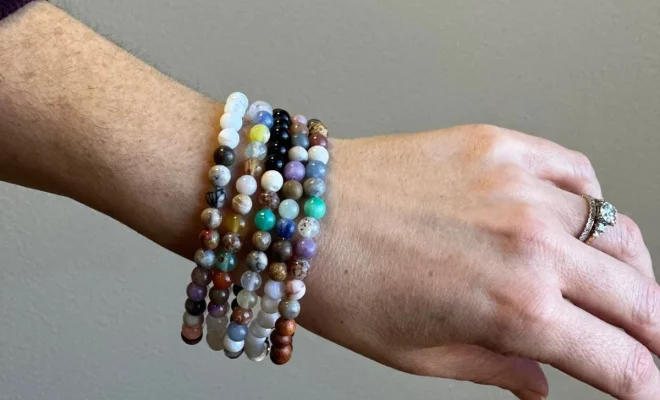
8. Attach any decorations: If you plan on adding charms or beads to your wristband, thread them onto elastic strings or sew directly onto fabric wristbands.
9. Add closure mechanism: Depending on your chosen material and closure system (clasps or snap buttons), attach the closure mechanism using adhesive glue, threads, or pliers.
10. Assemble your wristband: Fold the edges of your material over the closure mechanism and secure it using glue, stitches, or rivets.
11. Adjust the fit: Try your wristband on to check for comfort and fit. Make any necessary adjustments by removing excess material or adding additional holes if using a buckle or snap closure.
12. Show off your creation: Now that you’ve successfully made your wristband, wear it proudly and show off your unique accessory to friends, family, or colleagues.
In just 12 simple steps, you can create a stylish and personalized wristband that reflects your personality, supports a cause, or serves as a fun accessory. Experiment with different materials, designs, and techniques to find the perfect combination for your individual style. Happy crafting!


