The Tech Edvocate

Top Menu

  • Advertisement
  • Apps
  • Home Page
  • Home Page Five (No Sidebar)
  • Home Page Four
  • Home Page Three
  • Home Page Two
  • Home Tech2
  • Icons [No Sidebar]
  • Left Sidbear Page
  • Lynch Educational Consulting
  • My Account
  • My Speaking Page
  • Newsletter Sign Up Confirmation
  • Newsletter Unsubscription
  • Our Brands
  • Page Example
  • Privacy Policy
  • Protected Content
  • Register
  • Request a Product Review
  • Shop
  • Shortcodes Examples
  • Signup
  • Start Here
    • Governance
    • Careers
    • Contact Us
  • Terms and Conditions
  • The Edvocate
  • The Tech Edvocate Product Guide
  • Topics
  • Write For Us
  • Advertise

Main Menu

  • Start Here
    • Our Brands
    • Governance
      • Lynch Educational Consulting, LLC.
      • Dr. Lynch’s Personal Website
      • Careers
    • Write For Us
    • The Tech Edvocate Product Guide
    • Contact Us
    • Books
    • Edupedia
    • Post a Job
    • The Edvocate Podcast
    • Terms and Conditions
    • Privacy Policy
  • Topics
    • Assistive Technology
    • Child Development Tech
    • Early Childhood & K-12 EdTech
    • EdTech Futures
    • EdTech News
    • EdTech Policy & Reform
    • EdTech Startups & Businesses
    • Higher Education EdTech
    • Online Learning & eLearning
    • Parent & Family Tech
    • Personalized Learning
    • Product Reviews
  • Advertise
  • Tech Edvocate Awards
  • The Edvocate
  • Pedagogue
  • School Ratings

logo

The Tech Edvocate

  • Start Here
    • Our Brands
    • Governance
      • Lynch Educational Consulting, LLC.
      • Dr. Lynch’s Personal Website
        • My Speaking Page
      • Careers
    • Write For Us
    • The Tech Edvocate Product Guide
    • Contact Us
    • Books
    • Edupedia
    • Post a Job
    • The Edvocate Podcast
    • Terms and Conditions
    • Privacy Policy
  • Topics
    • Assistive Technology
    • Child Development Tech
    • Early Childhood & K-12 EdTech
    • EdTech Futures
    • EdTech News
    • EdTech Policy & Reform
    • EdTech Startups & Businesses
    • Higher Education EdTech
    • Online Learning & eLearning
    • Parent & Family Tech
    • Personalized Learning
    • Product Reviews
  • Advertise
  • Tech Edvocate Awards
  • The Edvocate
  • Pedagogue
  • School Ratings
  • A Visitors Guide to Long Beach (CA), United States

  • A Visitor’s Guide to Fresno (CA), United States

  • A Visitors Guide to New Orleans (LA), United States

  • A Visitors Guide to Sacramento (CA), United States

  • A Visitors Guide to Lyon, France

  • JisuLife Ultra2 Portable Fan: A Powerful Multi-Function Cooling Solution

  • A Visitors Guide to Viña del Mar, Chile

  • A Visitors Guide to Århus, Denmark

  • A Visitors Guide to Bakersfield (CA), United States

  • A Visitors Guide to Aurora (CO), United States

Assistive Technology
Home›Assistive Technology›How to Make a Timeline on Google Slides

How to Make a Timeline on Google Slides

By Matthew Lynch
June 8, 2023
0
Spread the love

Google Slides is a fantastic tool to create presentations, slides, and timelines. Timelines are an excellent way to showcase the progression of events, projects or any other type of chronological process. Thanks to Google Slides, creating a timeline has never been easier. In this article, we will walk you through step-by-step how to create a timeline on Google Slides.

Step 1: Open Google Slides

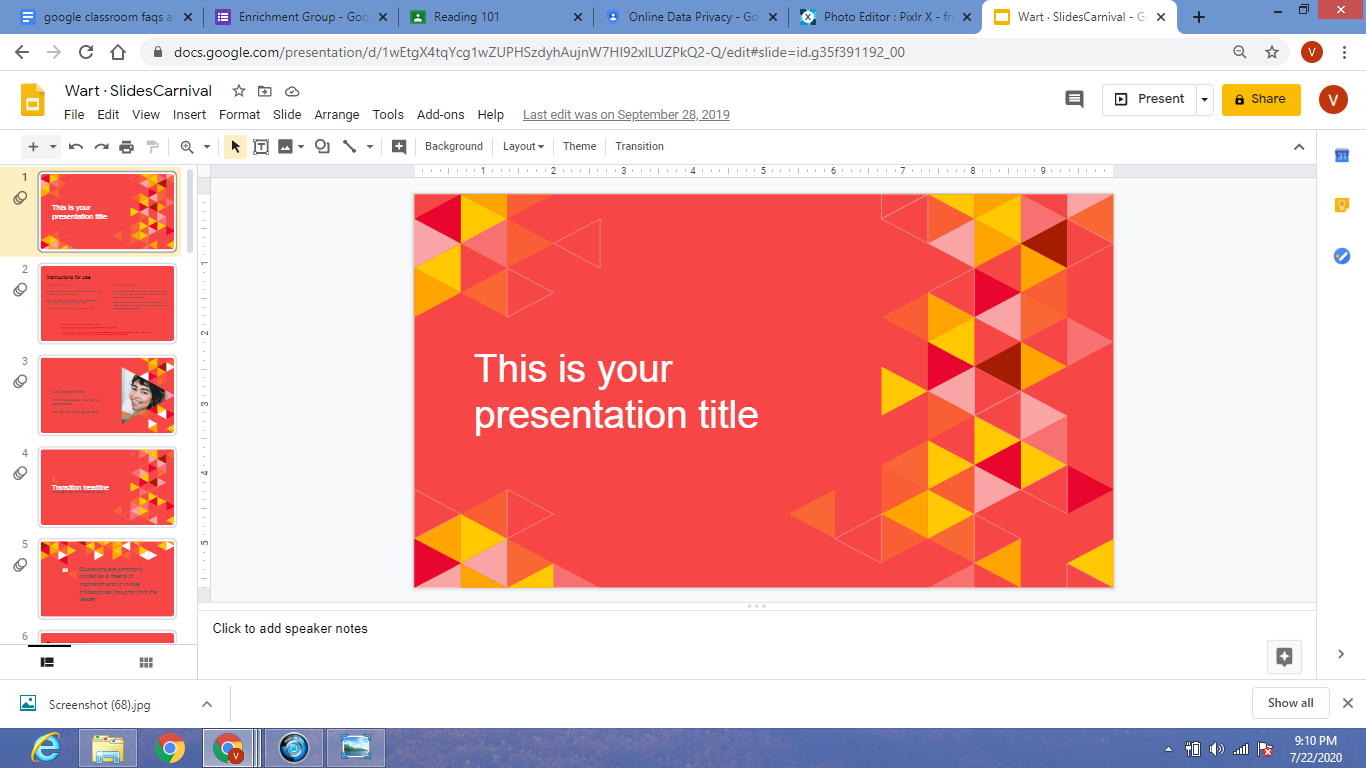
Firstly, you’ll need to open Google Slides. Go to slides.google.com and sign in to your Google account. Once you’re in, click on the plus (+) button in the top left-hand corner and choose Blank Presentation.

Step 2: Create the Timeline Layout

Use the rectangle shape in the Shapes menu to create a horizontal line across your slide. This will serve as your timeline. You could also use any other shapes available in the menu to add more design elements to your timeline.

Step 3: Add Text and Dates

After creating the basic timeline layout, it’s time to add in the details. You can use text boxes to add the details, and you can place these boxes above or below the timeline, depending on your design preference.

Make sure to include the dates or time periods that you want to highlight in your Timeline. While working on the placement, try to maintain the consistency of the design, and use appealing fonts, colors, and sizes.

Step 4: Customize the Design

This step is all about making the timeline visually appealing to the reader. Use a pleasing color palette that might fit with the theme of the timeline. You can change the color and weight of the timeline using the line color and line width options. You can also adjust font size, style and color to make your timeline more attractive.

Step 5: Add Images or Icons

Visual elements like images or icons can make your timeline more engaging and will keep the audience interested. You can include pictures or icons that represent each point of the timeline.

Use the Insert menu and choose Image or Icon to select a suitable image or icon for your timeline. Position the image, and use the Crop tool to adjust it to the desired size.

Step 6: Add Animations

Adding animations is not a necessary step, but it can make your timeline more impactful and interactive. You can add an animation to each element of your timeline. To do this, go to the Animations menu, choose your preferred style, and apply it to the element in question.

Conclusion

Creating a timeline on Google Slides is an easy and straightforward process. These simple steps will help you create an engaging and informative timeline that highlights key events, projects or processes. Remember to focus on the design, add visual elements, and use animations to make the timeline visually appealing and engaging for audiences. By following these steps, you’ll be sure to create a timeline that impresses your audience.

Previous Article

How to Change Your Facebook Cover Photo

Next Article

Windows 10 Home vs. Windows 10 Pro

Matthew Lynch

Related articles More from author

  • Assistive Technology

    How to Use the Camera Lucida App to Create Fantastic Drawings in No Time

    June 10, 2023
    By Matthew Lynch
  • Assistive Technology

    How to Create and Use Microsoft Word Templates

    June 10, 2023
    By Matthew Lynch
  • Assistive Technology

    How to Turn Off Restricted Mode on YouTube

    June 10, 2023
    By Matthew Lynch
  • Assistive Technology

    How to Reset Samsung Galaxy Watch

    June 10, 2023
    By Matthew Lynch
  • Assistive Technology

    How to Trust an App on iPhone

    June 8, 2023
    By Matthew Lynch
  • Assistive Technology

    How to Send a Group Text on Android

    June 6, 2023
    By Matthew Lynch

Search

Login & Registration

  • Register
  • Log in
  • Entries feed
  • Comments feed
  • WordPress.org

Newsletter

Signup for The Tech Edvocate Newsletter and have the latest in EdTech news and opinion delivered to your email address!

About Us

Since technology is not going anywhere and does more good than harm, adapting is the best course of action. That is where The Tech Edvocate comes in. We plan to cover the PreK-12 and Higher Education EdTech sectors and provide our readers with the latest news and opinion on the subject. From time to time, I will invite other voices to weigh in on important issues in EdTech. We hope to provide a well-rounded, multi-faceted look at the past, present, the future of EdTech in the US and internationally.

We started this journey back in June 2016, and we plan to continue it for many more years to come. I hope that you will join us in this discussion of the past, present and future of EdTech and lend your own insight to the issues that are discussed.

Newsletter

Signup for The Tech Edvocate Newsletter and have the latest in EdTech news and opinion delivered to your email address!

Contact Us

The Tech Edvocate
910 Goddin Street
Richmond, VA 23231
(601) 630-5238
[email protected]

Copyright © 2025 Matthew Lynch. All rights reserved.