
How to Create a Recovery Disk: 15 Steps
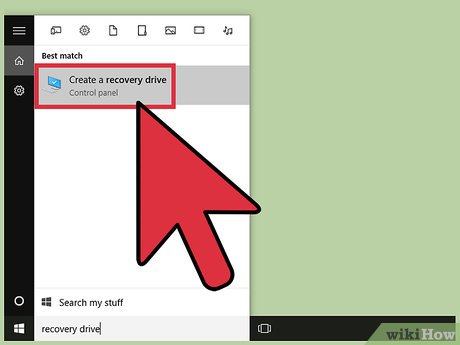
Keeping a recovery disk handy can be a lifesaver when your computer crashes or experiences other issues. A recovery disk allows you to restore your computer’s operating system and files to their original state, helping you get back up and running quickly. In this article, we will guide you through the process of creating a recovery disk in 15 easy steps.
1. Ensure that you have a USB flash drive with at least 8GB of storage capacity. This will be used to store the recovery files.
2. Make sure your computer is connected to the internet, as some files may need to be downloaded during the creation of the recovery disk.
3. Navigate to the Control Panel on your computer. You can access this by typing “Control Panel” into the search box on your taskbar and clicking on the corresponding result.
4. In the Control Panel, click on “System and Security.”
5. Next, click on “Backup and Restore (Windows 7).”
6. On the left side of the Backup and Restore window, click on “Create a system repair disc.”
7. When prompted, insert your USB flash drive into an available USB port on your computer.
8. From the drop-down menu, select your USB flash drive as the destination for the recovery files.
9. Click on “Create disc” to begin creating your recovery disk.
10. Your computer will now create the necessary files and copy them onto your USB flash drive. This process may take some time, so be patient.
11. Once the process is complete, you will receive a confirmation message stating that your recovery disk has been successfully created.
12. Safely eject your USB flash drive from your computer by right-clicking on its icon in the taskbar and selecting “Eject.”
13. Label your USB flash drive as a recovery disk so that you can easily identify it later.
14. Store your recovery disk in a secure location, such as a safe deposit box or fireproof safe. This will ensure its protection in the event of a disaster.
15. Lastly, remember to update your recovery disk periodically, especially after making significant changes to your computer’s operating system or files. This will help ensure that you always have the most up-to-date recovery options available.
By following these 15 steps, you can create a recovery disk that will help you restore your computer in case of emergency. Remember that it’s always better to be prepared and have a recovery disk on hand before disaster strikes.


