How to Create a Database in Microsoft Access: A Step-by-Step Guide

Microsoft Access is a powerful tool for creating, managing, and analyzing databases. With Access, you can create a customized database that suits your specific needs. Whether you are organizing your personal information, managing customers, or tracking inventory, Access can help you manage your data efficiently. In this article, we will walk you through the process of creating a database in Microsoft Access.
Step 1: Open Microsoft Access
To open Microsoft Access, click on the Windows Start button and search for Microsoft Access. Once you have located the program, click on it to open it.
Step 2: Choose a Blank Database
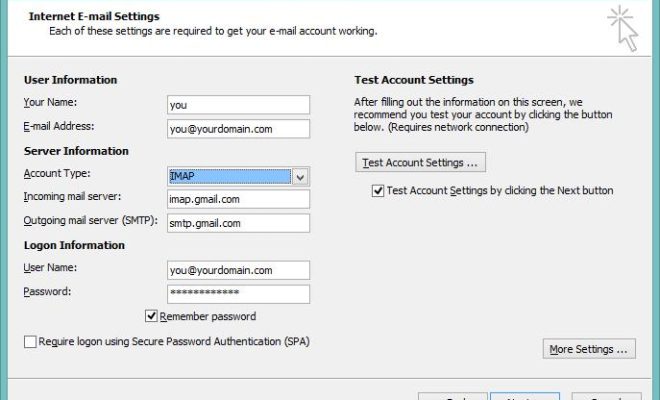
Once you have opened Microsoft Access, you will be prompted to choose a template for your database. If you don’t need a pre-designed template, choose “Blank Database” and then give your database a name. Make sure you save it in a location where you can easily access it.
Step 3: Create Tables
In Access, tables are where your data is stored. On the “Create” tab, click “Table Design”. A blank table will appear, containing columns for you to input your data. Begin by naming each column, specifying the data type, and any other information related to that field.
Step 4: Add Fields
Once you have created your table, it’s time to add fields – this can be achieved either by double-clicking on the table name or by clicking the “Design” button. In the Fields section, create the fields you need for your table. For example, if you have a table for customers, you might add fields for first name, last name, address, city, state, zip code, email, and phone number.
Step 5: Define Primary Keys
In Access, a primary key uniquely identifies each record in a table. A primary key can be a single field or a combination of fields. To define the primary key, select the field(s) you want to use as the primary key and click the “Primary Key” button.
Step 6: Populate the Table
Now that you have created tables and added fields to them, it’s time to start populating them with data. To add data, simply click on the table and start entering your data into the corresponding fields. You can also import data from other sources if you have it stored elsewhere.
Step 7: Create Relationships
If you have multiple tables in your database, you need to create relationships between them. Relationships connect the data in different tables, enabling you to retrieve and analyze data more effectively. To create a relationship, go to the “Database Tools” tab, then click on “Relationships.” From here, choose the tables you want to relate and connect them with a line.
Step 8: Create Forms
Forms provide an easy way to enter and view data in your database. To create a form in Access, go to the “Create” tab and select “Form Wizard.” Follow the prompts to create a form that best meets your needs.
Step 9: Print Reports
With Access, you can create and print reports that summarize your data. To create a report, go to the “Create” tab and select “Report Wizard.” Follow the prompts to create a report that displays the data you want to see.