
How to Clean a Chicken: 11 Steps
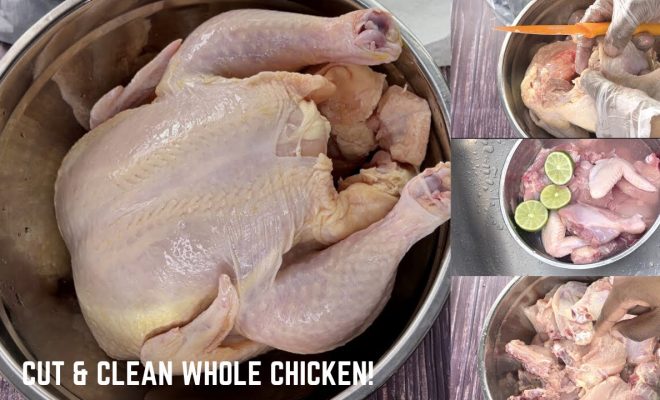
Cleaning a chicken for cooking can be intimidating for first-timers, but it is an essential skill that every home cook should learn. Here are 11 steps to help you clean a chicken before getting to the actual cooking process.
1. Gather your tools: You will need a sharp knife, kitchen scissors, paper towels, and gloves (optional).
2. Place the chicken on a clean cutting board with the breast side up.
3. Remove any packaging materials or trussing strings from the chicken.
4. Examine the exterior of the chicken and remove any excess fat or feathers using kitchen scissors or your fingers.
5. Make an incision: Cut through the skin between the thighs and body on both sides to release the legs.
6. Locate and remove the giblets: Giblets are usually stored in a small bag inside the cavity of the chicken. Carefully remove these organs and save them for making gravy or discard.
7. Rinse and drain the cavity: Hold the chicken under cold running water and allow it to rinse out any visible debris from the cavity, such as blood or remnants of organs. Be sure to drain all excess water by holding the chicken upright and tipping it upside down over a sink.
8. Trim any excess skin: Using kitchen scissors or a sharp knife, trim any extra skin around both ends of the cavity opening.
9. Remove excess innards: With your fingers, gently scoop out any remaining innards from inside the cavity of the chicken.
10. Pat dry: Use paper towels to thoroughly pat dry both inside and out of your chicken, ensuring that no moisture remains on its surface.
11. Clean your workspace: Thoroughly wash your hands, cutting board, and tools with hot soapy water after completing these steps – bacteria from raw poultry can easily spread if not properly cleaned up.
Now that your chicken has been properly cleaned, you’re all set to season and cook it to your desired recipe! Following these 11 steps, you can ensure that your chicken is not only tasty but also safe for consumption.
