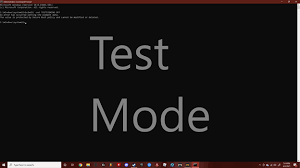
What Is Test Mode on Windows, and How Do You Turn It On and Off?

Test mode in Windows is a state you can enable that allows you to run drivers that aren’t signed by Microsoft’s digital signature verification process. This mode is particularly useful for developers and testers who are working with driver development and need to test programs that require driver signatures to be bypassed.
To turn on Test Mode in Windows, you will need administrator privileges and follow these steps:
1. Open the Command Prompt as administrator. This can be done by typing “cmd” in the search bar, right-clicking on the Command Prompt result, and selecting “Run as administrator.”
2. In the Command Prompt window, type the following command and press Enter:
“`
bcdedit /set testsigning on
“`
3. You should receive a message stating “The operation completed successfully.”
4. Restart your computer, and upon rebooting, you will see “Test Mode” along with your version of Windows at the bottom right corner of your desktop.
To turn off Test Mode in Windows, you will have to perform similar steps:
1. Open the Command Prompt as an administrator again.
2. Type the following command and press Enter:
“`
bcdedit /set testsigning off
“`
3. Once again, you should see a message confirming that the operation was successful.
4. Restart your computer to exit Test Mode; the text indicating Test Mode should no longer be displayed on your desktop.
Using Test Mode can make your system more vulnerable to malicious drivers because it disables enforcement of signed drivers—therefore it’s advisable to use this mode only when necessary and turn it off when not in use.


