Using Boot Camp Assistant to Install Windows on Your Mac

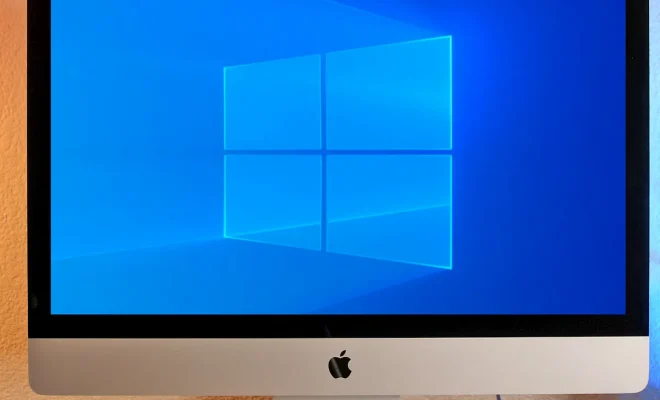
If you’re a Mac user and you need to use Windows for work or gaming, you can easily install it using Boot Camp Assistant. Boot Camp is a built-in utility that lets you install Windows on your Mac without having to use virtualization software like Parallels or VMware. Here’s how to use Boot Camp Assistant to install Windows on your Mac:
Step 1: Check System Requirements
Before you start, make sure your Mac meets the system requirements for Windows. You’ll need an Intel-based Mac with at least 55 GB of free disk space, 2 GB of RAM (4 GB or more is recommended), and a USB flash drive with at least 16 GB of storage.
Step 2: Download Windows ISO
Next, you’ll need to download a Windows ISO file. You can buy a copy of Windows and get an ISO file from Microsoft’s website or use a Windows installation disc if you have one. Save the ISO file to your Mac.
Step 3: Open Boot Camp Assistant
Boot Camp Assistant is located in the Applications > Utilities folder on your Mac. Open it and click “Continue” to start the installation process.
Step 4: Create a Bootable USB Drive
Boot Camp Assistant will ask you to create a bootable USB drive to install Windows. Insert your USB drive and select it from the list. Then click “Continue” and Boot Camp Assistant will format the drive and copy the necessary files to it.
Step 5: Partition Your Hard Drive
Boot Camp Assistant will ask you to partition your Mac’s hard drive to create a Windows installation disk. Use the slider to allocate space to Windows. You’ll need at least 55 GB of free space for Windows, but you can allocate more if you need it. Once you’ve partitioned your hard drive, click “Install” to start the installation process.
Step 6: Install Windows
Boot Camp Assistant will restart your Mac and boot into the Windows installer. Follow the on-screen instructions to install Windows. You’ll need to enter your product key and select the edition of Windows you want to install. Once Windows is installed, Boot Camp Assistant will install the necessary drivers to make sure everything works properly.
Step 7: Run Windows on Your Mac
Once Boot Camp Assistant has finished installing drivers, your Mac will boot into Windows. From now on, you can switch between macOS and Windows by restarting your Mac and holding down the Option key.
In conclusion, installing Windows on your Mac using Boot Camp Assistant is a straightforward process that’s well worth the effort if you need to use Windows for work or gaming. Just make sure your Mac meets the system requirements, download a Windows ISO file, and follow the steps above. With Windows installed, you’ll have the best of both worlds – a Mac that can run both macOS and Windows.


