Step-by-Step Guide: How to Install a PC Graphics Card
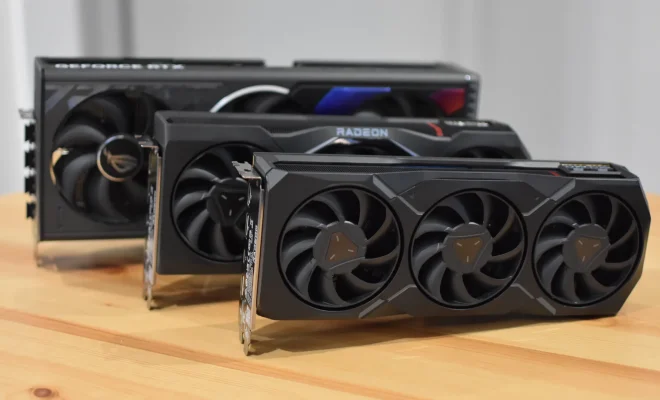
Installing a new graphics card is an excellent way to boost your computer’s performance to play graphic-intensive games and video editing. If you don’t have any experience with hardware installation, don’t worry. This step-by-step guide will walk you through the process, even if you’re not tech-savvy.
- Make sure your system requirements meet the graphics card specifications. Check the card’s documentation for requirements such as power supply wattage, available slots, and compatibility with your motherboard.
- Power off your computer and unplug all the power cords. Open your computer case and locate the PCI Express (PCIe) slot. It’s the long, narrow slot that the graphics card will be inserted.
- Remove the metal bracket covering the PCIe slot at the rear of the case. Unscrew any screws holding the graphics card in place.
- Carefully insert the graphics card into the PCIe slot. Push it down until the connectors go inside the slot, and it clicks into position.
- Secure the graphics card to the case with screws. Connect the power supply cables to the graphics card if required.
- If you had an existing graphics card, uninstall the old driver software completely. The graphics card comes with a driver installation CD or download the latest drivers from the manufacturer’s website.
- Power on your computer and install the new driver software by following the onscreen instructions. Restart your computer.
- Check that the new graphics card is recognized in the Device Manager. Open the Control Panel, and click Device Manager. The new graphics card should be listed.