Restoring a SQL Database Backup Using SQL Server Management Studio
Restoring a SQL Database Backup Using SQL Server Management Studio
A SQL database backup is an essential safeguard against data loss or corruption in your SQL database. Having a backup allows you to restore the data to a previous state if there is an issue with the database. In this article, we’ll show you how to restore a SQL database backup using SQL Server Management Studio.
Restoring a SQL Database Backup in SQL Server Management Studio
Step 1: Open SQL Server Management Studio
To restore your SQL database from a backup, you first need to open SQL Server Management Studio. You can do this by opening the start menu and searching for “SQL Server Management Studio” or by finding it in your installed applications.
Step 2: Connect to the SQL Server
Once you have opened SQL Server Management Studio, you need to connect to the SQL Server where your database is located. To do this, click on the “Connect” button in the Object Explorer pane.
Step 3: Select the Database to Restore
After connecting to your SQL Server, you need to select the database that you want to restore. To do this, expand the Databases folder in Object Explorer and locate the database. Then right-click the database and select “Tasks” > “Restore” > “Database”.
Step 4: Specify the Backup File
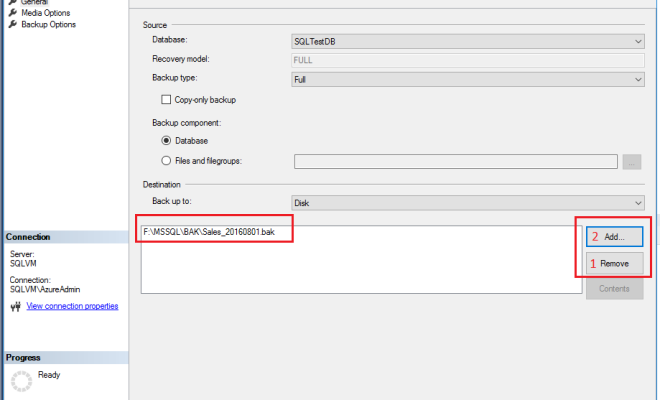
In the “Restore Database” dialog box, select the “From device” option and click on the “…” button to locate the backup file. This will open a new dialog box called “Select backup devices.”
Here, you can specify the location of your backup file by clicking on “Add” and selecting the file. Once you’ve selected the file, click “OK” to return to the “Restore Database” dialog box.
Step 5: Restore Database Options
In the “Restore Database” dialog box, you can specify additional options for restoring the database. You can set the database name, the location of the data and log files, and the backup set to restore.
The “Options” page allows you to specify additional parameters such as the recovery state, backup sets to restore and the destination location of the database to be restored.
After specifying the options, click on the “OK” button to restore your database.
Step 6: Confirm the Database Restore
Once you have specified all the options, click on the “OK” button to begin restoring the database. SQL Server Management Studio will display a summary of the restore operation.
Check the summary to confirm that the restore operation was successful, and then click on the “Close” button to exit the dialog box.
Conclusion Restoring a SQL database backup using SQL Server Management Studio is a straightforward process that allows you to recover lost or corrupted data. By following the steps outlined in this article, you can ensure that your SQL database is protected against data loss or corruption. Remember to create regular backups of your database, and store them in a secure location.