How to Use Split Screen Mode on Android

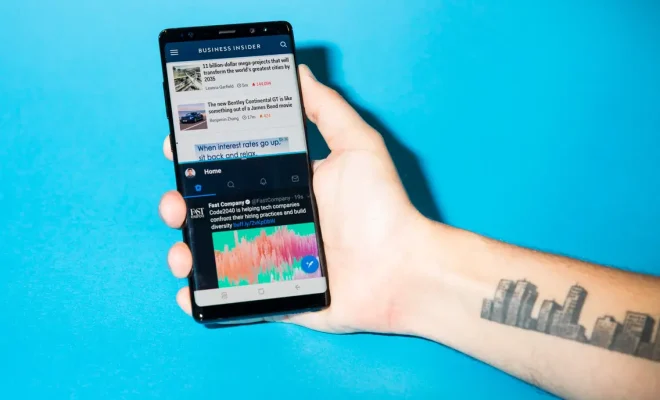
With larger smartphone screens becoming the norm, it’s only natural that we want to use them to their fullest potential. One way to do that is by using split-screen mode on your Android device. This allows you to view two apps side-by-side, making multitasking a breeze. In this article, we’ll walk you through how to use split-screen mode on Android.
Step 1: Enable Developer Options
Some Android devices require you to enable Developer Options before you can use split-screen mode. To do this, go to your device’s Settings app and scroll down to About phone. From there, look for the Build number and tap on it seven times. This will unlock Developer Options.
Step 2: Access Recent Apps
To start using split-screen mode, you first need to have two apps open. Navigate to the first app you want to use and open it. Next, you need to access your recent apps. On most Android devices, you can do this by swiping up from the bottom of the screen. Depending on your device, you may need to swipe up and hold.
Step 3: Tap and Hold
Once you’ve accessed your recent apps, find the second app you want to use in split-screen mode. Tap and hold on the app’s icon. You should see a few options. One of these options will be “Split Screen.”
Step 4: Drag and Drop
If you select “Split Screen,” the first app you opened will take up the top half of the screen, and the second app will take up the bottom half. However, if you prefer to have the apps on opposite sides, you can also drag and drop the second app to the side of the screen you want it on.
Step 5: Adjust the Size
Finally, you can adjust the size of each app by dragging the dividing line between them. This lets you customize how much of the screen each app takes up.


