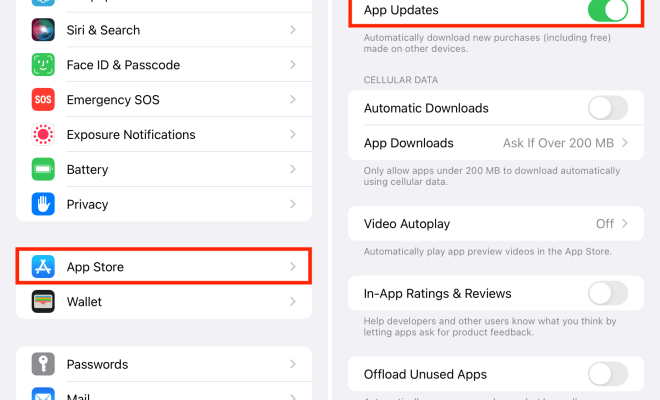
How to Turn Off Auto Update on iPhone

As an iPhone user, you may have noticed that your phone automatically updates to the latest iOS version without your permission. Although this may seem like a useful feature, it can become a nuisance for some users, especially for those who have limited storage space or an older device.
To turn off automatic updates on your iPhone, follow these simple steps:
Step 1: Open Settings
Tap on the settings app on your home screen to access the iPhone settings menu.
Step 2: Tap on General
Scroll down the settings menu and tap on “General” to access the “General” settings menu.
Step 3: Go to “Software Update”
Here, you will find the “Software Update” option. Tap on it to access the software update settings page.
Step 4: Disable Automatic Updates
On the software update page, you will see the option to enable or disable automatic updates. Simply tap on the toggle switch next to “Automatic Updates” to turn it off.
Step 5: Manually Update Your iPhone
Once you turn off automatic updates, you can choose to update your iPhone manually when a new software version is released. To do this, simply go back to the software update page and tap on “Download and Install” to start the update process.
In conclusion, turning off automatic updates on your iPhone is a simple process that can help you manage your device better. By following these steps, you can avoid unexpected software updates, conserve storage space, and update your iPhone on your terms.


