How to Install and Use Proton GE on SteamOS and Linux

Proton GE is a modified version of the Proton compatibility layer for Steam, designed to provide better performance and compatibility for running Windows games on SteamOS and Linux. Installing and using Proton GE can greatly improve your gaming experience on these platforms, allowing you to play more games than ever before. In this article, we will guide you through the process of installing and using Proton GE on SteamOS and Linux.
Step 1: Download Proton GE
To begin, you will need to download the latest version of Proton GE from its official website. It is important to note that Proton GE is not an official product of Valve or Steam, so you will need to download and install it manually. Once you have downloaded the ZIP file, extract it to a location of your choice.
Step 2: Install Proton GE
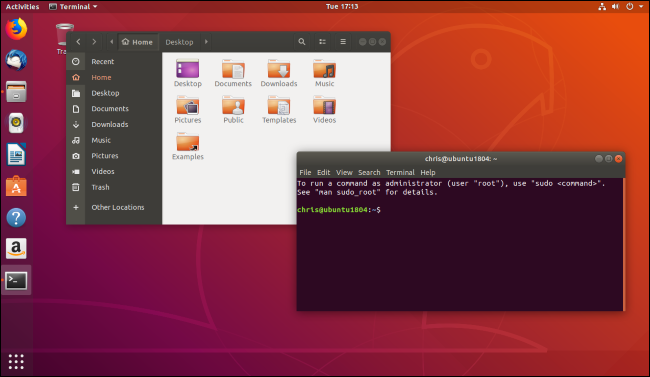
To install Proton GE, you will need to create a new folder in your “.steam/root/compatibilitytools.d/” directory with the name of the Proton GE version. For example, if you downloaded version 6.2, you would create a folder named “Proton-6.2-GE-1”. Once the folder is created, copy the extracted files from the Proton GE ZIP file into the new folder.
Step 3: Use Proton GE
Now that you have installed Proton GE, you can use it to run Windows games on SteamOS or Linux. To do this, simply right-click on the game in your Steam Library and select “Properties.” In the “Compatibility” tab, check the box that says “Force the use of a specific Steam Play compatibility tool” and select the Proton GE version you just installed from the drop-down menu.
It is important to note that not all games will run perfectly with Proton GE, and you may encounter some issues or bugs. However, Proton GE is constantly being updated and improved by its developers, so be sure to keep an eye on their website for new updates and releases.