How to Connect Chromebook to a Monitor

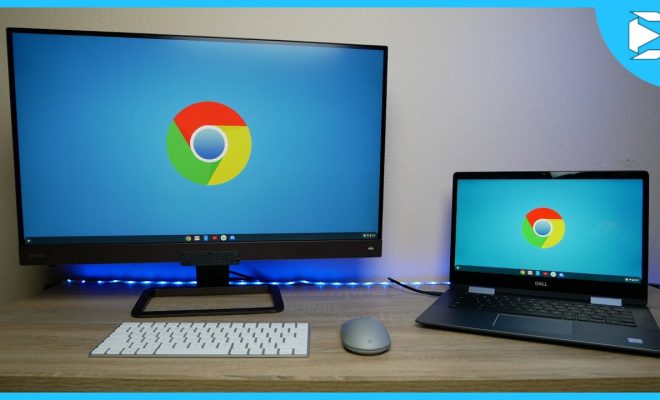
Chromebooks have become increasingly popular in recent years as they provide an affordable and efficient way to stay productive on-the-go. However, sometimes a small screen can be restrictive and it may be more comfortable or necessary to work on a larger display. Luckily, connecting a monitor to your Chromebook is a straightforward process. In this article, we’ll guide you through the steps for how to connect a Chromebook to a monitor.
Step 1 – Check your Ports
Before anything else, make sure you have the necessary ports on both your Chromebook and monitor. Most modern monitors come with HDMI ports, and most Chromebooks feature at least one HDMI port. Alternatively, you may need to use a USB-C or VGA port on your Chromebook, which will require a corresponding port on your monitor or an adapter. If your Chromebook and monitor have the same or compatible ports, you can move on to the next step.
Step 2 – Power Up
To begin, turn on your Chromebook and monitor. If your monitor has multiple input ports, ensure that it is set to the correct input source. Afterward, connect the appropriate cable to both devices. Some cables may have screws to secure them in place. Ensure that the cable is snugly connected and that both devices are close enough to each other to ensure proper connectivity.
Step 3 – Adjust Display Settings
Once you’ve established a physical connection, you’ll need to adjust your display settings. On your Chromebook, click the time and battery icon located in the lower-right corner of your screen. Then click on the gear-shaped Settings icon. In the Settings menu, navigate to the Device section and click on the Displays option. You should now see a list of available displays, including the newly connected monitor.
Step 4 – Configure Settings
You will need to configure the display settings for the new monitor. Firstly, select the display you want to use as your primary screen. Then, choose your preferred screen resolution, orientation, and other relevant preferences. You can also change the display mode between Extended desktop, Mirrored screens, or use the secondary monitor as the primary display.
Step 5 – Test it Out
Once you’ve configured your display settings, make sure to save any changes you’ve made. You can now test out the new set up by opening any application or program. The window will appear on your primary display by default, but you are free to drag it over to the second display. You may also see some applications that support full-screen mode, such as streaming services and games. If that’s the case, you can adjust the display settings by clicking the full-screen mode.
Connecting your Chromebook to a monitor can greatly enhance your productivity by providing you with additional screen space. Follow these simple steps, and you’ll be able to connect your Chromebook to a monitor without any difficulties. In just a few minutes, you’ll have an expanded display that makes work or entertainment more enjoyable


