How to Connect a PS4 Controller to iPhone

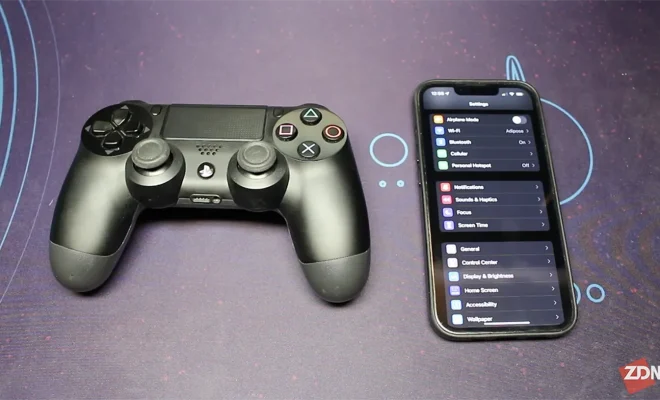
For avid gamers, the idea of being able to connect a PS4 controller to an iPhone might seem like a dream come true. And the good news is that it’s entirely possible. So, if you’re eager to start gaming on your iPhone using a PS4 controller, here’s a guide on how to do it.
First, make sure that your PS4 controller is charged up and ready to go. Then, follow these step-by-step instructions:
1. Make sure your iPhone is running on iOS 13 or above. The compatibility of the PS4 controller is limited to these versions only.
2. Turn on the Bluetooth feature on your iPhone.
3. Press and hold the PS button and the Share button simultaneously on your PS4 controller until the light on the controller starts flashing rapidly.
4. Head over to your iPhone’s Settings app and look for the Bluetooth option. Tap on it.
5. Your iPhone will start searching for available Bluetooth devices nearby. Wait a few seconds until you see “DUALSHOCK 4 Wireless Controller” from the list of devices.
6. Tap on this option and let the iPhone connect to the PS4 controller. Once paired, the light on the controller will change from flashing to steady.
7. You’re all set! Once the PS4 controller is successfully connected to your iPhone, it’s time to start gaming. Just launch your favorite game and start playing.
It’s important to note that not all games are compatible with the PS4 controller. Before trying to connect your controller, check if the game you want to play supports controllers or not.
Additionally, when using a PS4 controller with an iPhone, it’s advisable to use a holder or a stand to secure your phone while gaming. The last thing you want is to drop your phone during a heated moment of gameplay and damage it.
In conclusion, connecting a PS4 controller to an iPhone is a great way to take your mobile gaming experience to the next level. By following the steps outlined above, you can quickly and easily start playing your favorite games with effortless control. Happy gaming!


