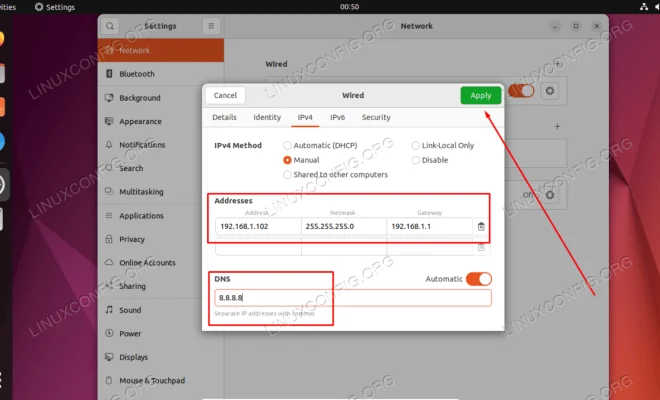
How to Configure Static IP Address on Ubuntu 22.04 LTS and 22.10

Configuring a static IP address can be a critical task for Ubuntu users as it helps in stable network communication. In this article, we will guide you on how to configure a static IP address on Ubuntu 22.04 LTS and 22.10.
Step 1: Check the network interface name
Before configuring the static IP address, it’s important to check the network interface name. To do so, open the terminal and enter the following command.
“`
ifconfig
“`
This command will display the network interface details. In most cases, the network interface is named as `eth0` or `enp0s3`.
Step 2: Open the network configuration file
Next, open the network configuration file using the following command.
“`
sudo nano /etc/netplan/00-installer-config.yaml
“`
This command will open the configuration file on the Nano editor.
Step 3: Add static IP address configuration
Now, add the static IP address configuration to the configuration file. Replace the IP address, netmask, gateway, and DNS server with your own values.
“`
network:
version: 2
renderer: networkd
ethernets:
eth0:
dhcp4: no
addresses: [192.168.1.100/24]
gateway4: 192.168.1.1
nameservers:
addresses: [8.8.8.8,8.8.4.4]
“`
Step 4: Save and apply the network configuration
Once you have added the static IP configuration, save the file by pressing `Ctrl + X`, then press `Y` and `Enter`.
Now, apply the changes to the network configuration by running the following command in the terminal.
“`
sudo netplan apply
“`
This command will apply the settings to the network interface.
Step 5: Verify the static IP address
Finally, check if the static IP address configuration was successful by using the `ifconfig` command.
“`
ifconfig
“`
This command will show the network interface details with the new static IP address.


