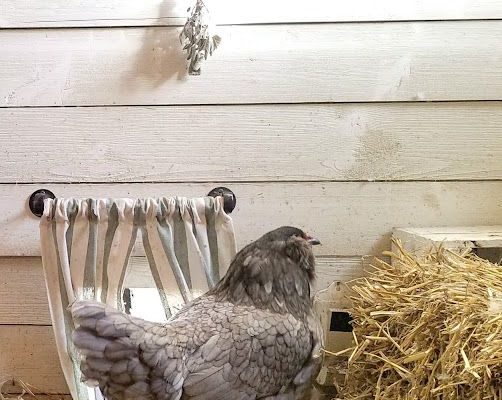
How to Clean a Chicken Coop

Having a clean chicken coop is essential for maintaining the health and well-being of your flock. A dirty coop can become a breeding ground for parasites, disease, and bacteria, not to mention causing unpleasant odors. Therefore, it’s crucial to understand how to clean your chicken coop effectively. This article will guide you through the process of cleaning a chicken coop from top to bottom.
Step 1: Gather Your Supplies
Before you start, gather all the necessary supplies for cleaning your chicken coop. These may include:
– Rubber gloves
– A dust mask
– A stiff-bristled brush or broom
– A shovel or pitchfork
– A bucket
– Soapy water or a cleaning solution specifically designed for coops (don’t use harsh chemicals)
– Clean bedding
– A hose with sprayer attachment (optional)
Step 2: Remove the Chickens and Accessories
To clean the coop thoroughly, it’s best to temporarily remove your chickens from the area. You can place them in a secure pen or enclosed run while you clean. Additionally, remove any accessories, such as feeders, waterers, nesting boxes, and perches, so that they can also be cleaned properly.
Step 3: Remove All Old Bedding
Firstly, put on your rubber gloves and dust mask to protect yourself from dust and particles. Using a shovel or pitchfork, remove all old bedding material from the coop. This may include straw, wood shavings, or other materials used on the floor and in nesting boxes.
Step 4: Sweep Out Dust and Debris
Using a stiff-bristled brush or broom, sweep out any remaining dust or debris from the inside of the coop. Make sure to get into all corners and crevices.
Step 5: Scrub Surfaces and Accessories
Fill your bucket with warm soapy water or a cleaning solution specifically designed for chicken coops. Using your brush, scrub all surfaces and accessories in the coop, including the floor, walls, nesting boxes, perches, feeders, and waterers. If possible, use a hose with a sprayer attachment to rinse away any soapy water or solution from surfaces. Ensure all items are completely clean before proceeding to the next step.
Step 6: Disinfect the Coop
After you’ve scrubbed everything down, apply a disinfectant suitable for use around poultry to kill any remaining bacteria or germs. Make sure the disinfectant is approved for use with chickens and follow the manufacturer’s instructions for proper usage and dilution.
Step 7: Allow the Coop to Dry
Before reassembling your coop and reintroducing your chickens, allow everything to dry thoroughly. This may take several hours or more, depending on weather conditions. A well-ventilated and dry coop will help prevent mold and bacterial growth.
Step 8: Replace Bedding and Accessories
Once everything is dry, you can add fresh bedding material to the coop floor and nesting boxes. Make sure to provide ample bedding material for optimal insulation and comfort. Reinstall cleaned accessories such as perches, feeders, and waterers.
Step 9: Return Your Chickens
It’s now safe to move your chickens back into their freshly cleaned coop. They will enjoy having a clean environment that promotes good health and reduces stress.
By following these steps in cleaning your chicken coop regularly (every few weeks or as needed), you’ll keep your birds happy, healthy, and productive. Stable cleanliness is an essential aspect of responsible poultry care that should not be overlooked!


