The Tech Edvocate

Top Menu

  • Advertisement
  • Apps
  • Home Page
  • Home Page Five (No Sidebar)
  • Home Page Four
  • Home Page Three
  • Home Page Two
  • Home Tech2
  • Icons [No Sidebar]
  • Left Sidbear Page
  • Lynch Educational Consulting
  • My Account
  • My Speaking Page
  • Newsletter Sign Up Confirmation
  • Newsletter Unsubscription
  • Our Brands
  • Page Example
  • Privacy Policy
  • Protected Content
  • Register
  • Request a Product Review
  • Shop
  • Shortcodes Examples
  • Signup
  • Start Here
    • Governance
    • Careers
    • Contact Us
  • Terms and Conditions
  • The Edvocate
  • The Tech Edvocate Product Guide
  • Topics
  • Write For Us
  • Advertise

Main Menu

  • Start Here
    • Our Brands
    • Governance
      • Lynch Educational Consulting, LLC.
      • Dr. Lynch’s Personal Website
      • Careers
    • Write For Us
    • The Tech Edvocate Product Guide
    • Contact Us
    • Books
    • Edupedia
    • Post a Job
    • The Edvocate Podcast
    • Terms and Conditions
    • Privacy Policy
  • Topics
    • Assistive Technology
    • Child Development Tech
    • Early Childhood & K-12 EdTech
    • EdTech Futures
    • EdTech News
    • EdTech Policy & Reform
    • EdTech Startups & Businesses
    • Higher Education EdTech
    • Online Learning & eLearning
    • Parent & Family Tech
    • Personalized Learning
    • Product Reviews
  • Advertise
  • Tech Edvocate Awards
  • The Edvocate
  • Pedagogue
  • School Ratings

logo

The Tech Edvocate

  • Start Here
    • Our Brands
    • Governance
      • Lynch Educational Consulting, LLC.
      • Dr. Lynch’s Personal Website
        • My Speaking Page
      • Careers
    • Write For Us
    • The Tech Edvocate Product Guide
    • Contact Us
    • Books
    • Edupedia
    • Post a Job
    • The Edvocate Podcast
    • Terms and Conditions
    • Privacy Policy
  • Topics
    • Assistive Technology
    • Child Development Tech
    • Early Childhood & K-12 EdTech
    • EdTech Futures
    • EdTech News
    • EdTech Policy & Reform
    • EdTech Startups & Businesses
    • Higher Education EdTech
    • Online Learning & eLearning
    • Parent & Family Tech
    • Personalized Learning
    • Product Reviews
  • Advertise
  • Tech Edvocate Awards
  • The Edvocate
  • Pedagogue
  • School Ratings
  • Can Clio accept client payments

  • How to dispatch jobs in FieldAware

  • Can ServiceTitan do call booking

  • How to onboard construction workers BambooHR

  • Is FieldAware worth it for contractors

  • How many users in Jobber

  • Can JobNimbus track leads

  • How to create estimates in Housecall Pro

  • How many users in mHelpDesk

  • How to track certifications in BambooHR construction

Assistive Technology
Home›Assistive Technology›How to Upload Videos to YouTube

How to Upload Videos to YouTube
By Matthew Lynch
June 15, 2023
0
Spread the love

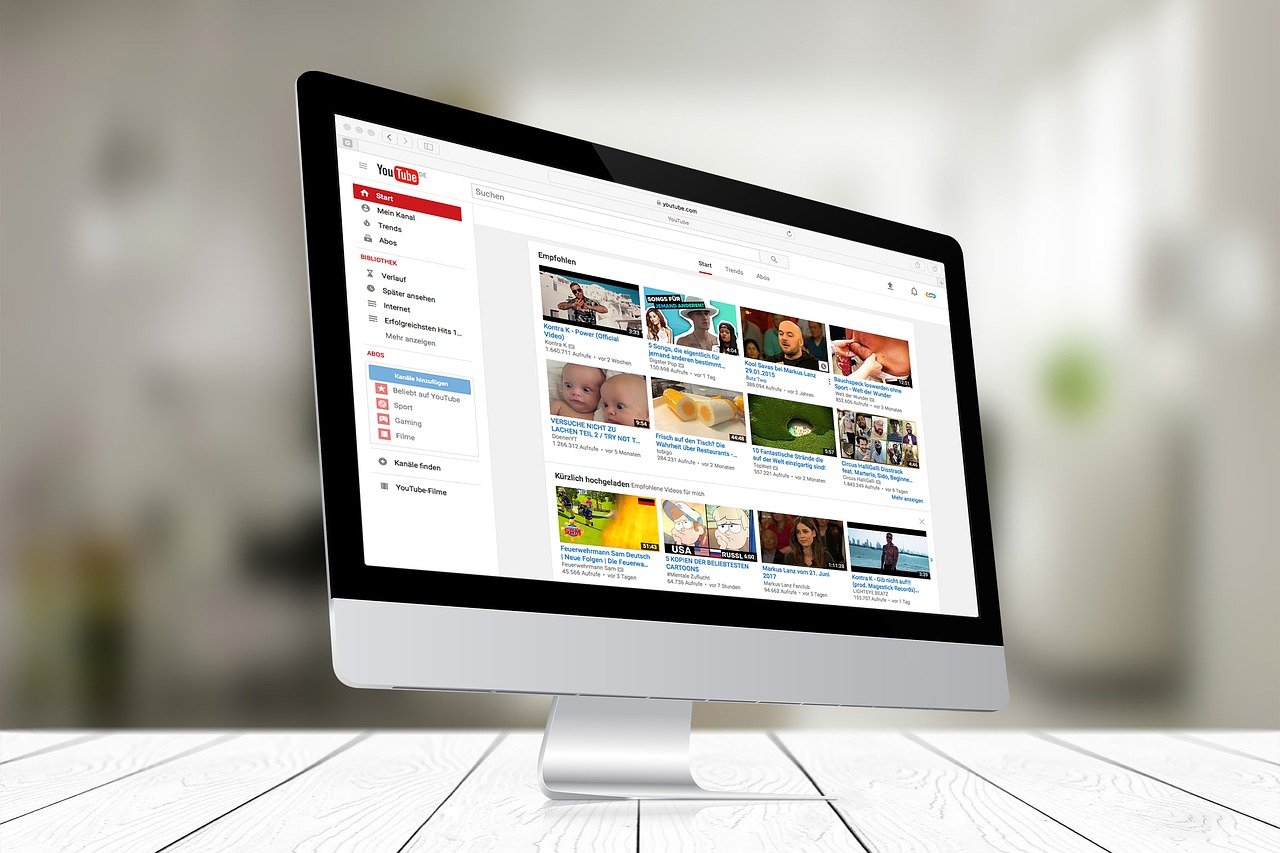
YouTube is one of the largest video sharing platforms in the world, with millions of users uploading and viewing videos on the platform daily. Whether you are a new creator just starting on the platform or an established YouTuber looking to expand your reach, knowing how to upload videos to YouTube is essential. In this article, we will guide you through the process of uploading videos to YouTube and ensure that your content is properly optimized for the platform.

Step 1: Sign in to your YouTube account

The first step to uploading videos to YouTube is to sign in to your account. If you do not already have an account, you can create one for free. Once you have signed in, click on the camera icon located in the upper right-hand corner of the page. This will open the YouTube Studio dashboard, where you can upload and manage your videos.

Step 2: Upload your video

Next, click on the “Create Video” button and select “Upload Video” from the dropdown menu. Now, you can drag and drop your video into the upload box or select the file manually from your computer files. YouTube accepts a wide array of video formats, including MP4, MOV, WMV, and AVI. However, it’s better to upload in the recommended format that is H.264, AAC, and MP4.

Step 3: Edit your video details

Once your video has finished uploading, you can edit the details of your video. This includes adding a title, description, tags, and selecting a thumbnail image. Make sure your title accurately describes your video and includes keywords that help users find your content. The description should be detailed and include any relevant links. Add tags that describe your video, and select a thumbnail image that accurately reflects the content of your video.

Step 4: Add video enhancements

YouTube provides several video enhancements that can improve the quality of your video. You can add stabilization to shaky footage, adjust the brightness, and add filters to make your video look more professional. However, it’s better not to overdo it as it will make your video look artificial.

Step 5: Set privacy and distribution settings

Before publishing, you have to set the privacy and distribution settings of your video. On the right-hand side, you’ll see a tab called “Visibility” where you can choose whether your video is public (visible to anyone), unlisted (visible only to people you share the link with), or private (visible only to you and those you give permission to).

If you want to allow others to embed your video on their website, enable the “Embed” option. You can also choose to add your video to a playlist, enable or disable comments, and select whether you want to monetize your video.

Step 6: Publish your video

Once you are satisfied with the video details and settings, it’s time to publish your video. Click on the “Publish” button, and your video will be live on YouTube.

Final thoughts

Uploading videos to YouTube is a straightforward process, but it’s essential to ensure that your content is optimized for the platform. By following the above steps and creating high-quality video content, you can expand your reach on YouTube and build a strong following of viewers. So, start uploading your videos and showcase your creative talent to the world! 

Previous Article

How to Group Chat With Facebook Messenger

Next Article

How to Add Friends on PS4

Matthew Lynch

Related articles More from author

  • Assistive Technology

    How to DM on Instagram

    June 10, 2023
    By Matthew Lynch
  • Assistive Technology

    How to Delete a Comment on TikTok

    June 12, 2023
    By Matthew Lynch
  • Assistive Technology

    How to Reformat Your MacBook Pro

    June 10, 2023
    By Matthew Lynch
  • Assistive Technology

    How to Watch Disney+ Movies in IMAX Resolution

    June 11, 2023
    By Matthew Lynch
  • Assistive Technology

    How to Reset a Samsung Laptop

    June 12, 2023
    By Matthew Lynch
  • Assistive Technology

    How to Make a Photo Mosaic in Photoshop

    June 10, 2023
    By Matthew Lynch

Search

Login & Registration

  • Log in
  • Entries feed
  • Comments feed
  • WordPress.org

Newsletter

Signup for The Tech Edvocate Newsletter and have the latest in EdTech news and opinion delivered to your email address!

About Us

Since technology is not going anywhere and does more good than harm, adapting is the best course of action. That is where The Tech Edvocate comes in. We plan to cover the PreK-12 and Higher Education EdTech sectors and provide our readers with the latest news and opinion on the subject. From time to time, I will invite other voices to weigh in on important issues in EdTech. We hope to provide a well-rounded, multi-faceted look at the past, present, the future of EdTech in the US and internationally.

We started this journey back in June 2016, and we plan to continue it for many more years to come. I hope that you will join us in this discussion of the past, present and future of EdTech and lend your own insight to the issues that are discussed.

Newsletter

Signup for The Tech Edvocate Newsletter and have the latest in EdTech news and opinion delivered to your email address!

Contact Us

The Tech Edvocate
910 Goddin Street
Richmond, VA 23231
(601) 630-5238
[email protected]

Copyright © 2026 Matthew Lynch. All rights reserved.