How to Use Multiple Desktops on One Screen in Windows 11

Windows 11 has introduced several new features and one of them is the ability to use multiple desktops on one screen. This feature can be handy for those who need to have numerous applications open but want to keep them organized and separated. In this article, we’ll discuss how to use multiple desktops on one screen in Windows 11.
Step 1: Launch Task View
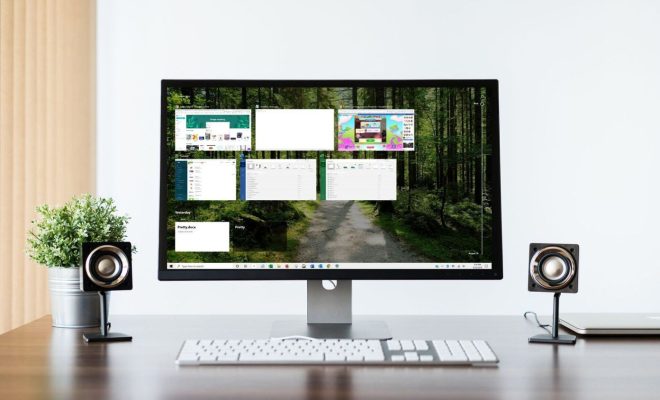
To use multiple desktops on one screen, you’ll need to first launch the Task View. You can do this by clicking on the Task View button, which can be found on your taskbar.
Step 2: Create New Desktop
Once in Task View, you will see all your open windows and virtual desktops at the bottom of the screen. To create a new desktop, click the “New Desktop” button located in the top left corner of the screen.
Step 3: Switch Between Desktops
After creating a new desktop, you can switch between them by clicking on the Task View button and selecting the desktop you want to switch to from the list of available desktops at the bottom of the screen.
Step 4: Move Windows Between Desktops
You can move open windows between desktops by dragging and dropping them from one desktop to another in the Task View. Alternatively, you can also right-click on the open window and select “Move to” and choose the desired desktop.
Step 5: Close Desktops
To close a desktop, simply click on the Task View button, hover over the desktop you want to close, and click the X button. Be aware that closing a desktop will also close any open windows in that desktop.
Conclusion:
Using multiple desktops on one screen in Windows 11 can be a useful tool for increased productivity and organization. With these few simple steps, you can create multiple virtual desktops, switch between them, and move windows between them with ease. Give it a go, it might make your work-life easier!


