
How to Turn Off Web Guard: 11 Steps
Introduction:
Web Guard is a useful feature offered by some internet service providers and cellular carriers to help protect users from harmful or malicious content online. However, there might be times when you need to disable Web Guard to access specific websites or content that might be blocked unintentionally. Here are 11 simple steps to help you turn off Web Guard safely and efficiently.
Step 1: Check your Internet Service Provider (ISP) or Carrier
Before attempting to disable Web Guard, it’s essential to know if your ISP or carrier provides this feature. You can do this by checking their website, reviewing your account information, or contacting their customer support.
Step 2: Log in to your account
Go to your ISP’s or carrier’s website and sign in using your credentials (username and password). This is the first step in accessing Web Guard settings.
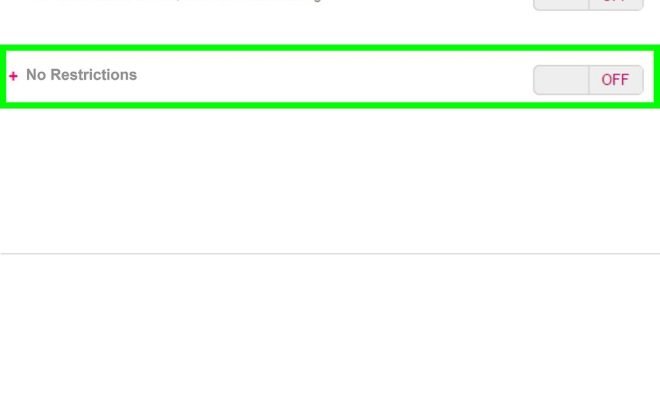
Step 3: Locate the parental controls section
Navigate through the website until you find the parental controls or web filtering settings. This is where you can enable/disable Web Guard.
Step 4: Identify the Web Guard settings
Once you locate the parental control section, search for the specific Web Guard settings option.
Step 5: Turn off Web Guard
Select the option to disable Web Guard. This might differ across various ISPs and carriers – it could be a toggle switch, a checkbox or a dropdown menu.
Step 6: Confirm changes
Some providers may ask you to verify if you want to disable Web Guard. Review the changes and click ‘Confirm’ or ‘Yes’ when prompted.
Step 7: Save settings
After confirming your changes, ensure that you save these new settings. Look for a ‘Save’, ‘Apply’, or an equivalent button and click it.
Step 8: Restart your device
In some cases, changes may not take effect immediately. To ensure that the new settings are applied, restart your computer, smartphone, or any other devices where you want to disable Web Guard.
Step 9: Test the changes
Now that you have disabled Web Guard, go online and try accessing the previously blocked content. If successful, it means that Web Guard has been disabled.
Step 10: Reactivate Web Guard when necessary
Remember that Web Guard serves as an important security measure. If you need to temporarily disable it, be sure to reactivate it once you are finished with the desired content.
Step 11: Contact support if problems persist
If Web Guard is still blocking content after following these steps, or if you encounter any issues while disabling it, consider reaching out to your ISP’s or carrier’s customer support for assistance.
Conclusion:
Disabling Web Guard can sometimes be necessary to access specific online content. However, always remember that it serves as a security feature to protect users from potentially harmful material. It’s essential to be cautious online and reactivate Web Guard once you’ve accomplished your objectives.
