How to Take a Screenshot on a Surface Pro
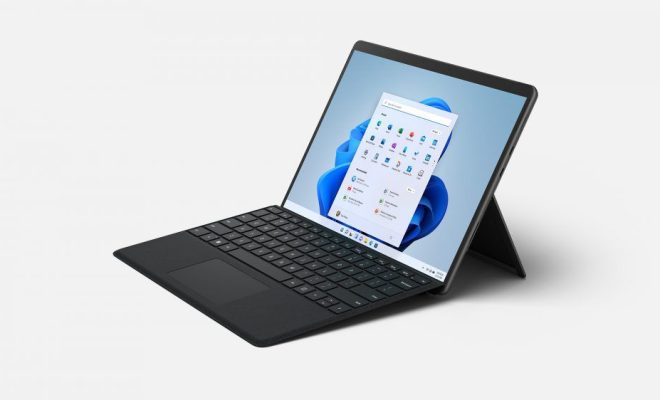
Whether you are taking a screenshot of an important document, capturing a memorable moment on your favorite app or just need to save something quickly, knowing how to take a screenshot can be incredibly useful. If you own a Surface Pro, you’re in luck, as it is incredibly easy to take a screenshot.
In this article, we’ll guide you through step by step on how to take a screenshot on your Surface Pro.
Method 1: Using Keyboard Shortcuts
Step 1: Open the screen which you want to take a screenshot of.
Step 2: Press the “Windows” key + the “PrtScn” key on your keyboard simultaneously.
Step 3: You will see the screen flicker to indicate that a screenshot was taken.
Step 4: Navigate to the “Pictures” folder in “File Explorer.”
Step 5: Look for a new folder named “Screenshots.” The screenshot you just took should be in this folder.
Method 2: Using the Surface Pen
Step 1: Open the screen which you want to take a screenshot of.
Step 2: Take out the Surface Pen.
Step 3: Double-click the button on the top of the pen.
Step 4: You will hear a sound effect that indicates a screenshot has been taken.
Step 5: Check the “Screenshots” folder within the “Pictures” folder to find your captured image.
Method 3: The Snipping Tool
If you want more control over what you capture or wish to capture a specific part of the screen, the Snipping Tool may be the ideal method for you.
Step 1: Search for the “Snipping Tool” in the Start Menu.
Step 2: Open the tool and click the “New” button on the top left corner of the window.
Step 3: Select the type of snip that you want: a rectangular, free-form, window, or full-screen snip.
Step 4: Using your cursor, drag the snipping tool around the part of the screen you want to capture.
Step 5: Once you have the desired image, release your mouse.
Step 6: The image will be displayed in the Snipping Tool window. Select “File” from the top left of the window and click “Save As” to save your screenshot.
Final Thoughts
The Surface Pro has made it incredibly easy to take a screenshot. Whether you prefer to use keyboard shortcuts, the Surface Pen or the Snipping Tool, the process is quick and efficient. Images are saved automatically to the “Screenshots” folder in “Pictures” and can be found with ease. So, next time you need to take a screenshot, simply follow these steps and capture the moment with ease.

