How to Make Wood Signs: 13 Steps

Step 1: Choose the right wood
Select a suitable piece of wood for your sign. You can use reclaimed wood, plywood, or any other type of lumber that appeals to you. Ensure it’s free from knots and imperfections and is large enough for your desired design.
Step 2: Select your tools
Gather your woodworking tools such as saws, sandpaper, a ruler, a pencil, and clamps. For painting and sealing the sign, you’ll need paint or stain, brushes, and clear sealant.
Step 3: Design your sign
Sketch out your design on paper first. Consider the position of text and any images if you plan to include them. It’s helpful to measure the dimensions of your wooden board so you can scale your design to fit.
Step 4: Cut the wood
Using a saw, cut the wood to the desired size based on your design. If you’re unsure about how to cut wood, consult with someone experienced or watch online tutorials.
Step 5: Sand and prep
Smooth out any rough edges with sandpaper. Start with a coarser grit (around 80) and progress to finer grit (around 220) until the surface is smooth.
Step 6: Transfer the design
Use a pencil or chalk to transfer your design onto the wood. You can either sketch it freehand or create a stencil by printing out your design on paper, cutting it out, and tracing around it.
Step 7: Paint or stain
Apply paint or stain to the wooden board using a brush. Choose colors that complement your design, and apply multiple thin layers until you achieve the desired coverage.
Step 8: Paint the text and images
With a steady hand and small brush, paint in every detail of your sign – including outlines, text, and images.
Step 9: Allow paint to dry
Let the paint dry according to the manufacturer’s instructions. This usually takes between one and six hours.
Step 10: Apply touch-ups as needed
Make any necessary touch-ups and reapply any areas that require additional coats of paint or stain.
Step 11: Add clear sealant
Brush a clear sealant onto the sign to protect it from wear and tear, as well as resist moisture. Be sure to cover all areas of the sign evenly. Allow it to dry completely before touching or hanging the sign.
Step 12: Attach hanging hardware
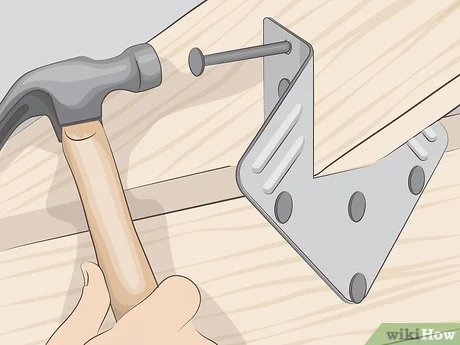
Secure hanging hardware such as D-rings, picture wire, or a sawtooth hanger to the back of your wood sign using screws or nails.
Step 13: Display your wood sign proudly!
Hang your freshly-made wood sign in its desired location and enjoy your creative masterpiece.

