
How to Make a Paper Folder: 10 Steps
A paper folder is a practical and creative way to keep your documents organized. It’s an eco-friendly alternative, perfect for school projects, work presentations, or simply storing your personal files at home. In this step-by-step guide, you’ll learn how to create a functional and stylish paper folder.
1. Gather your materials: To make a paper folder, you will need two sheets of sturdy paper (such as construction or thick scrapbooking paper), a ruler, a pencil, scissors, glue or double-sided tape, and optionally, stickers or markers for decoration.
2. Measure and cut the paper: Measure both sheets of paper to the desired size – a standard folder is often around 9 x 12 inches. Use your ruler and pencil to mark out the dimensions on each sheet, then use scissors to cut them out.
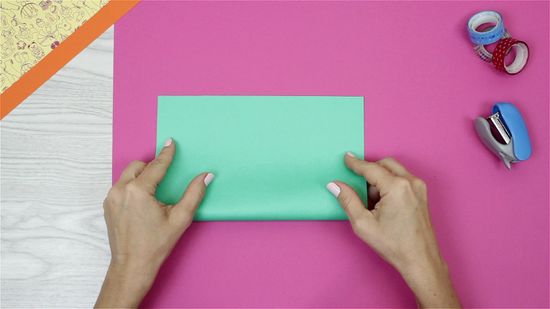
3. Fold the paper in half: With both sheets of paper cut to size, fold each one in half horizontally. This will create the basic shape of your folder.
4. Glue the edges together: Apply glue or double-sided tape along one of the horizontal edges of each folded piece of paper. Press the glued edges firmly onto each other, ensuring they are aligned properly and creating a single folder with two pockets.
5. Create the pockets: Fold the bottom part of each page upwards to form pockets for holding your papers. The height of these pockets depends on how much space you want for documents inside your folder but should be approximately 4-6 inches high.
6. Secure pocket edges: Use glue or double-sided tape to secure the side edges of each pocket onto the main body of the folder. Make sure not to glue the top opening shut – you need this open for inserting documents later!
7. Reinforce the spine: To ensure your folder can withstand regular use without falling apart, reinforce its spine by applying glue or double-sided tape along the fold line. Press the two halves firmly together for a strong bond.
8. Allow time to dry: Let your folder dry for about 30 minutes or until the glue or adhesive is completely set.
9. Decorate your folder: Customize your paper folder by adding stickers, drawings, or other creative designs that suit your taste and express your personality. You can even label it with subject names, project titles, or other identifying information.
10. Insert documents: Your paper folder is now ready for use! Slide papers, notes, and other documents into the pockets to keep them organized and protected.
There you have it! With just a few materials and these straightforward steps, you can create a personalized and functional paper folder perfect for various purposes. Enjoy crafting and organizing your documents in style!
