
How to Knit a Poncho: 14 Steps
A poncho is a versatile and cozy garment that can be worn in various weather conditions and styles. Knitting your own poncho can give it a personalized touch and offer you a rewarding experience as you create something practical and beautiful. Here are 14 steps to knitting your perfect, warm, and stylish poncho.
1. Choose the type of yarn: Select a high-quality yarn in your preferred color, texture, and thickness. Keep in mind that thicker yarns will provide more warmth while lighter yarns are suitable for cooler climates.
2. Select a knitting pattern: You can find many free poncho patterns online or purchase books with detailed instructions and styling options. Choose a simple or intricate pattern based on your knitting experience.
3. Check the gauge: Before starting, check the recommended knitting gauge on your pattern. This will ensure that your poncho will be the correct size after completion.
4. Gather necessary materials and tools: Make sure you have all the essential tools such as knitting needles, stitch markers, a tapestry needle, scissors, and measuring tape.
5. Cast on: Begin by casting on the required number of stitches according to your chosen pattern.
6. Establish the stitch pattern: Following the instructions of your pattern, work the desired stitch pattern over several rows until you have established it correctly.
7. Increase stitches gradually: Many poncho patterns will require you to increase stitches throughout the project to create its signature shape. Increase as needed according to the provided instructions.
8. Add side panels (optional): If your pattern calls for side panels, follow the instructions for creating them separately, then sew them onto your main piece later.
9. Add front and back sections (optional): Some ponchos also feature distinct front and back sections with different patterns or designs. If such sections are part of your chosen pattern, knit them separately and seam them together once completed.
10. Weave in loose ends: As you knit, take care to weave in any loose yarn ends to prevent unraveling later. This will give your poncho a polished look.
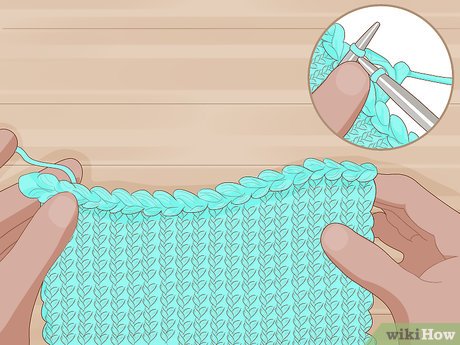
11. Bind off your project: Once you have reached the end of your pattern and all required pieces are completed, bind off your stitches to secure the edges and prevent fraying.
12. Seam the poncho together: If your pattern consists of multiple pieces or panels, use a tapestry needle and matching yarn to sew them together by following the seaming directions provided in the knitting instructions.
13. Block your poncho: To ensure that the garment lies flat and maintains its shape, block your poncho by wetting it thoroughly, gently squeezing out any excess water, and stretching it out on a flat surface (such as a blocking mat) until it dries.
14. Add embellishments or finishing touches (optional): If desired, you can add fringe, tassels, or decorative buttons to complement the design of your poncho.
Now that you have completed these 14 steps, you’ll have a beautiful hand-knit poncho to wear and enjoy in various settings. Happy knitting!
