How to Instantly Save Print Screen Screenshots as an Image on Windows

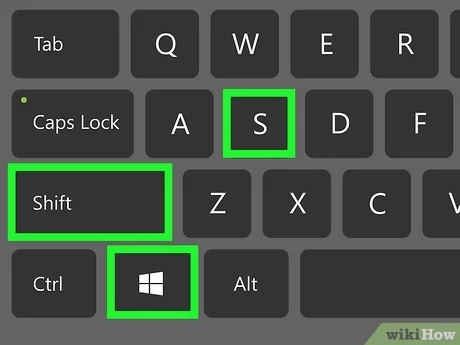
Taking a screenshot is a quick and easy way to save an image of anything you see on your computer screen. But having to open an image editing program and save the screenshot as a file can be time-consuming. Luckily, there’s an easy way to instantly save print screen screenshots as an image on Windows.
First, make sure the window or program you want to capture is open and visible on your screen. Then, press the “Print Screen” or “PrtScn” button on your keyboard. This will capture an image of your entire screen.
Next, open the Paint program. This can be found in the Start menu under “All programs,” then “Accessories,” and then “Paint.”
Once Paint is open, press “Ctrl” and “V” on your keyboard at the same time. This will paste the screenshot into the Paint program.
Finally, go to the “File” menu and select “Save As.” Choose a location to save the screenshot to, give it a name, and select your desired file format (such as JPEG or PNG).
That’s it! You now have an instant screenshot saved as an image on your computer. This method is quick and easy and doesn’t require any additional programs or software.
There are also a few alternative methods you can use to save print screen screenshots as images on Windows. One option is to use the “Snipping Tool” program, which allows you to capture specific areas of your screen and save them as a file. Another option is to use a third-party screenshot tool, such as Greenshot or Lightshot, which can offer additional features and flexibility.


