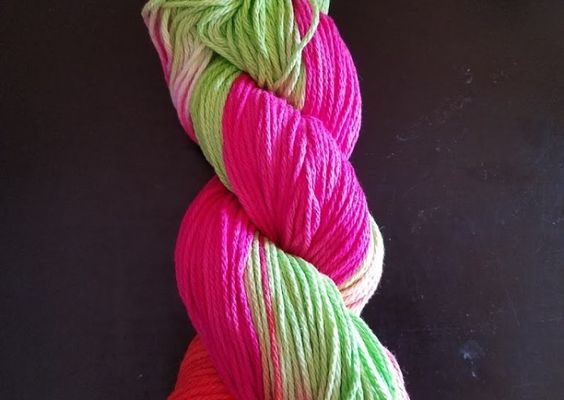
How to Dye Cotton Yarn

Transforming your plain cotton yarn into a vibrant, colorful masterpiece is simpler than you might think. With just a few tools and materials, you can create unique color palettes and exciting patterns for all your knitting, crochet, or weaving projects. This article will guide you through the process of dyeing cotton yarn.
Materials You’ll Need:
1. Cotton yarn
2. Fabric dye (specifically for cotton)
3. A large cooking pot or bucket
4. Measuring spoons/cups
5. Water
6. Salt (to help the dye set)
7. Rubber gloves
8. Stirring utensil
9. Mild detergent
10. Cooling rack or tray
Step-by-Step Process of Dyeing Cotton Yarn:
1. Preparation:
a. Before you begin, wind your yarn into a skein or hank – this allows for easier dye penetration.
b. Wet your cotton yarn thoroughly in lukewarm water to allow for even absorption of the dye.
c. Protect your workspace with plastic sheets or old newspapers to avoid staining surfaces.
2. Prepare the Dye Bath:
a. Read and follow the instructions on your fabric dye package – different dyes have different ratios of water, salt, and dye powder required.
b. Fill a large cooking pot or bucket with sufficient water to fully submerge the yarn.
c. Add the specified amount of salt to the water, stirring to dissolve.
d. Pour in the measured dye powder, stirring until it has completely dissolved as well.
3. Dyeing Your Cotton Yarn:
a. Gently lower your wet cotton yarn into the dye bath, ensuring that it is fully submerged.
b. Use a stirring utensil to constantly move and agitate the yarn in the dye bath – this prevents uneven dyeing and blotches.
c. Dye for the recommended time on the dye package instructions, usually 30-60 minutes.
d. For richer, more saturated colors, you can prolong the dyeing process by periodically turning off the heat and allowing the yarn to soak in the dye bath for extended periods.
4. Rinsing:
a. When you’ve reached your desired color, remove the yarn from the dye bath using tongs or gloved hands.
b. Rinse your dyed cotton yarn under cold running water until the water runs clear.
c. Add a few drops of mild detergent to lukewarm water and gently wash your yarn to remove excess dye, then rinse thoroughly once more.
5. Drying:
a. After rinsing, gently squeeze out any excess water from your dyed cotton yarn but avoid wringing or twisting it.
b. Place your yarn on a cooling rack or tray in a well-ventilated area to air dry completely.
With these steps, you can create endless possibilities for your projects by adding new colors and creative patterns to your cotton yarns. Enjoy experimenting with different dye techniques and combinations, and embrace the unique results that come with each new endeavor!


