How to Delete Folders or Labels in Gmail

In the age of overflowing inboxes and constant digital communication, keeping your email organized is key. Gmail uses a system of labels (often thought of as folders by many users) to help categorize and sort emails. However, there may come a time when you need to delete a label you no longer use. Here’s a step-by-step guide on how to do that.
Step 1: Access Gmail Labels
To get started, log into your Gmail account and look for the ‘Settings gear icon located at the top right corner of the page. Click on this icon, then select ‘See all settings’ from the drop-down menu.
Step 2: Navigate to Labels
Within the Settings menu, you’ll find several tabs across the top. Click on the ‘Labels’ tab to see a list of all your current labels.
Step 3: Locate Label to Delete
Scroll through your labels until you find the one you wish to remove. You’ll notice that next to each label there are options like ‘hide’ and ‘show’. Keep looking until you find a small ‘Remove’ button or ‘Delete’ option next to the label you want to get rid of.
Step 4: Delete Label
Click on ‘Remove’ or ‘Delete’. Gmail might prompt you with a warning message that deleting a label will not delete any emails with that label. If you are sure about your decision, proceed by confirming you want to delete the label.
Step 5 (Optional): Manage Emails with Deleted Label
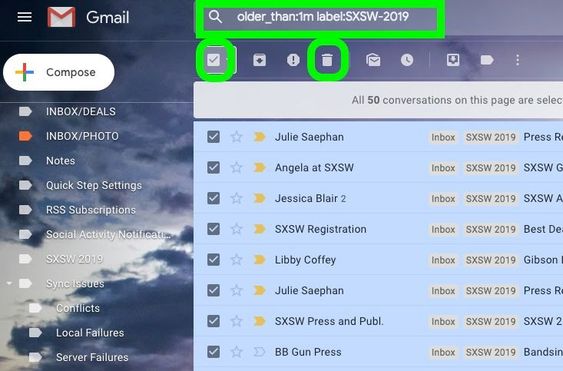
If you want to re-categorize emails that were under this deleted label, go back to your inbox or email list and search for “{label name}”. From here, you can select all these emails and either archive them, add them under a new label, or leave them unlabelled according to your preference.
And that’s it! You have successfully deleted a label in Gmail. Your inbox is now one step closer to being more streamlined and organized.


