
How to Activate iMessage
Introduction:
iMessage is an instant messaging service developed by Apple Inc. This powerful tool allows you to send and receive text messages, photos, videos, and even documents through a Wi-Fi or cellular data connection. It also features end-to-end encryption, ensuring that your conversations remain private and secure. In this article, we will guide you through the process of activating iMessage in 13 simple steps.
1. Make sure your device is compatible:
Before proceeding, ensure that your Apple device runs on iOS 5 or later versions for iPhones, iPod touch devices with iOS 5 or later, or Macs running OS X Mountain Lion (10.8) or later.
2. Connect to Wi-Fi or cellular data:
To activate iMessage, your device must be connected to the internet via Wi-Fi or cellular data.
3. Sign in with your Apple ID:
On your iPhone or iPad, navigate to Settings > [Your name] > iTunes & App Store and sign in with your Apple ID.
4. Enable iMessage:
From the main Settings menu on your iPhone or iPad, tap on Messages. Toggle the switch next to iMessage to turn it on (green).
5. Set up “Send & Receive” options:
In the Messages settings, tap on “Send & Receive.” Here you can choose which email addresses and phone numbers should be associated with your iMessage account.
6. Configure Message forwarding (optional):
If you possess multiple Apple devices, such as an iPhone and an iPad, you can set up forwarding so that incoming iMessages are sent to all devices connected to your Apple ID. Under “Text Message Forwarding,” select the devices you’d like to enable for message forwarding.
7. Enable read receipts (optional):
If you’d like others using iMessage to see when you’ve read their messages, toggle the switch next to “Send Read Receipts” to turn it on.
8. Make sure the time zone is correct:
Navigate to Settings > General > Date & Time and ensure that the time zone is accurate. Incorrect time zones may pose issues when activating iMessage.
9. Wait for activation:
After completing the steps above, your device needs some time to activate iMessage. Be patient; this process may take a few hours.
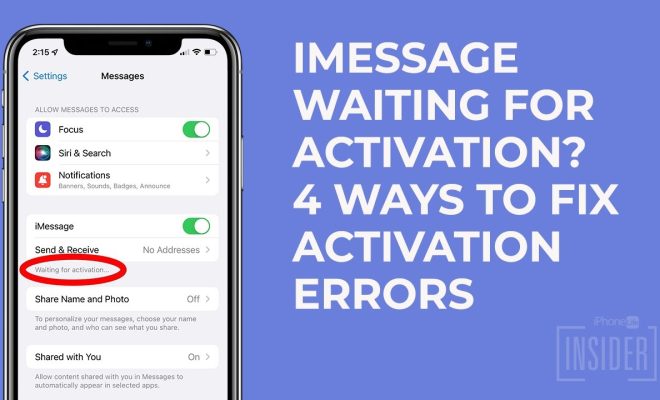
10. Check activation status:
In the Messages settings, you will see “Waiting for activation…” below iMessage while it’s still being activated. Once activated, the message will disappear.
11. Troubleshoot if necessary:
If you experience issues with iMessage activation, try these troubleshooting tips:
– Ensure that Wi-Fi or cellular data is working correctly.
– Reboot your device and try again.
– Sign out and back into your Apple ID under iTunes & App Store settings.
12. Start using iMessage:
Once activated, you can begin using iMessage to communicate with other Apple users.
13. Set up iMessage on a Mac (optional):
To use iMessage on your Mac computer, open the Messages app, sign in with your Apple ID, and follow steps 5 through 7 mentioned above.
Conclusion:
With this step-by-step guide, activating iMessage becomes a simple process that ensures you stay connected with friends and family via Apple’s robust messaging platform. Enjoy enhanced communication features and secure messaging with iMessage!
