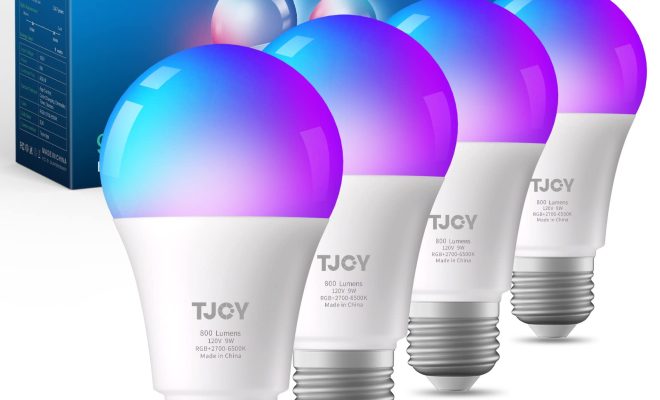
Got a Smart Bulb? Here’s How to Set It Up

Smart bulbs are quickly gaining popularity as an important component of a smart home. These bulbs allow you to control the lighting in your home from your smart device, saving energy and enhancing convenience. However, setting up a smart bulb can be a daunting task for those who are new to the technology. Fortunately, setting up a smart bulb is easy and can be done in just a few simple steps.
Step One: Choose Your Smart Bulb
The first step to setting up a smart bulb is to choose the right one for your home. Smart bulbs come in different shapes and sizes, and they also have different features. Some bulbs can be dimmed, while others can change colors. Some require a hub, while others can connect directly to your home Wi-Fi network. Whatever your preferences are, ensure that you choose a smart bulb that will meet all your needs.
Step Two: Prepare Your Smart Device
To control a smart bulb, you need a compatible smart device. Ensure that your device is compatible with the smart bulb you have chosen and that it is set up with the latest firmware updates. This will ensure that your device is ready to control the smart bulb.
Step Three: Install the Smart Bulb
Once you have your smart bulb and your smart device ready, you need to install the smart bulb. Screw the bulb into the light socket, just as you would with any other bulb. Ensure that you turn off the power before you begin to avoid any electrical shocks.
Step Four: Connect to Wi-Fi
After installation, it’s time to connect the smart bulb to Wi-Fi. Ensure that your Wi-Fi network is stable and reliable. Set the bulb to pairing mode, which is usually done by switching it on and off for a few seconds. Go to your smart device’s settings and scan for available Wi-Fi networks. Select the Wi-Fi network that matches the smart bulb’s name. Enter the smart bulb’s password if prompted and wait for the connection to be established.
Step Five: Download and Install the Smart Bulb’s App
To control smart bulbs, you need an app to help you with that. Go to your device’s app store and search for the app that corresponds to your smart bulb. Download and install the app and follow the prompt for the app’s permission. After installation, launch the app and sign up for a new account if required.
Step Six: Control Your Smart Bulb
After installation and app setup, it’s time to control the smart bulb. Open the smart bulb’s app and select the bulb you want to control. On the app, you can choose your preferred color, brightness, and even dim the bulb. You can also create schedules, which will help you turn the bulb on and off automatically, saving energy.
In conclusion, setting up a smart bulb is easy and straightforward. Just choose the right bulb for your home, prepare your smart device, install the bulb, connect to Wi-Fi, download and install the app, and control your smart bulb. By following these steps, you’ll enjoy the convenience and energy savings that come with having a smart home.


