3 Ways to Apply Plasti Dip

Introduction:
Plasti Dip is a versatile, rubberized coating that has become increasingly popular in automotive customization. It’s a cost-effective solution for changing the color of your car, wheels, or other surfaces without committing to a permanent paint job. Plus, it’s easy to remove if you decide to change things up again. In this article, we will explore three methods for applying Plasti Dip to achieve professional-looking results.
1.Spray-on Plasti Dip:
Spray-on is the most common method for applying Plasti Dip, primarily because it’s user-friendly and requires minimal equipment.
Steps:
– Start by thoroughly cleaning the surface you intend to coat.
– Mask off any areas that you don’t want to be coated using painter’s tape and plastic sheets.
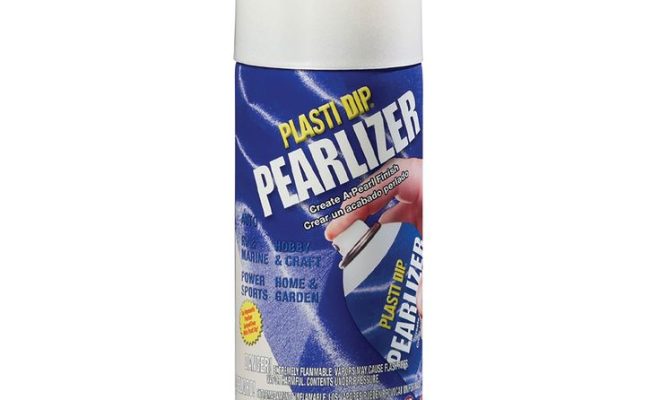
– In a well-ventilated area, apply a thin coat of Plasti Dip using continuous back-and-forth spraying motions. Hold the can about 6-8 inches away from the surface.
– Allow about 30 minutes for each coat to dry before applying additional layers. We recommend at least four coats for optimal durability and color consistency.
– Once the final coat has dried, carefully remove the masking materials.
2.Brush-on Plasti Dip:
For small or intricate surfaces that may be challenging to spray evenly, brushing on Plasti Dip is an excellent option.
Steps:
– Ensure that the surface is clean and masked off as needed.
– Pour some Plasti Dip into a clean paint tray or disposable container.
– Use a high-quality paintbrush to apply thin, even layers of Plasti Dip.
– Allow each layer to dry for at least 30 minutes before applying subsequent coats.
– After achieving the desired coverage and color depth, remove any masking materials.
3.Dipping Method:
Dipping items directly into liquid Plasti Dip is a suitable method for smaller objects like emblems and trim pieces.
Steps:
– Remove the object you wish to dip, if possible, to make it more manageable.
– Clean the object thoroughly and ensure that it’s dry before proceeding.
– Pour Plasti Dip into a container that is large enough for the object to be fully submerged.
– Slowly submerge the object into the Plasti Dip, ensuring that it is entirely covered with the liquid.
– Carefully remove the object from the Plasti Dip, allowing any excess coating to drip off.
– Hang or place the object on a clean surface to dry completely. Apply additional coats if needed, allowing each coat to dry before dipping again.
Conclusion:
Each of these three methods offers its advantage when applying Plasti Dip. The spray-on method is best suited for larger surfaces like cars and wheels, whereas brushing and dipping methods work well for smaller and more intricate areas. Regardless of which way you choose, always remember to work in a well-ventilated space and follow safety guidelines to achieve professional looking and long-lasting results.


