How to Use an SD Card on Android

Introduction
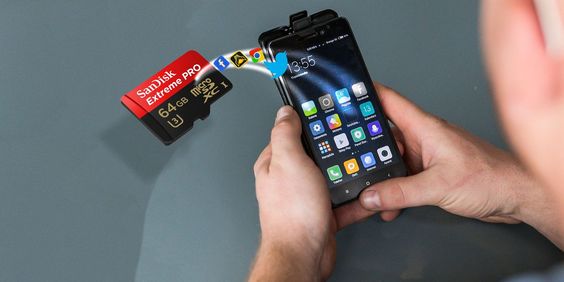
One of the most significant advantages of Android devices is their ability to expand storage using an SD card. This added flexibility provides users with extra space for their apps, music, pictures, or other files. Proper usage of an SD card involves formatting, mounting, and transferring files effectively. In this article, we’ll guide you through how to use an SD card on your Android device.
1. Choose the right SD card
There are various types of SD cards available. Ensure you purchase a compatible SD card for your Android device. Most Android smartphones and tablets use one of two types: MicroSD (smaller in size) or a standard SD card (larger in size). Also consider the storage capacity and speed class according to your usage needs.
2. Insert the SD card into your device
Before you insert the SD card, ensure that your device is powered off. Locate the SIM tray or dedicated SD card slot on your Android smartphone or tablet. Use a SIM ejector pin or a small paper clip to eject the tray.
Place the SD card into the tray or slot according to the diagram on the tray or given in your device’s manual. Carefully re-insert the tray into your device and ensure it sits flush with no part sticking out. Power on your device after insertion.
3. Format the SD Card (if required)
In some cases, formatting is necessary for proper functioning and recognition of newly installed cards.
To format an SD card on your Android device:
a) Open Settings
b) Navigate to Storage
c) Locate and tap on ‘SD Card’
d) Tap on ‘Format’ or ‘Erase & Format’ (depending on your device)
e) Confirm by tapping ‘Format’ again
Be aware that formatting will erase all data on the SD card.
4. Mounting an SD Card
Newly formatted cards should mount automatically. However, if you need to mount it manually, follow these steps:
a) Open Settings
b) Go to Storage
c) Scroll down and tap on ‘Mount SD Card’
d) Wait for the process to complete
5. Transferring files to or from the SD card
You can use your device’s native file manager (e.g., Files, My Files, File Manager) to move or copy files between internal storage and the SD card.
To transfer files:
a) Open the file manager
b) Locate the file(s) you want to transfer
c) Long press on the file(s), then select Share, Move, Copy, or Cut
d) Choose SD Card location as either source or destination (depending upon the transfer direction)
e) Paste or complete the action in the destination folder
6. Set SD Card as default storage (if possible)
Some Android devices allow setting the SD card as default storage for specific data types such as photos and app installations.
To set your SD card as default storage:
a) Open Settings
b) Go to Storage
c) Tap on options (usually represented as three vertical dots)
d) Choose ‘Storage settings’ (if available)
e) Select your preferred option for SD card usage (e.g., photos, app installation)
Conclusion
Using an SD card with your Android device is an efficient way to expand its capabilities and improve storage management. By correctly selecting, adding, and managing your SD card within your device’s settings and file manager, you will be able to enjoy extended space for various tasks and keep your Android phone or tablet well-organized.


