
How to Switch iPhones
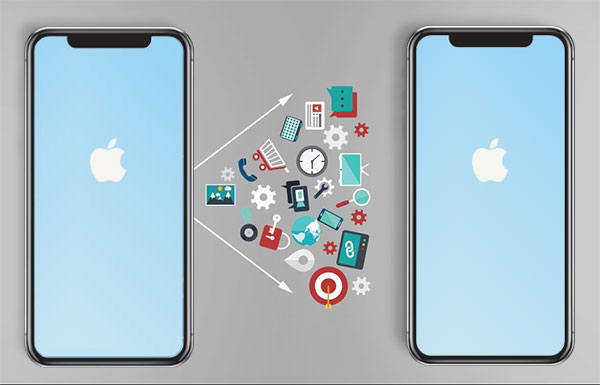
Switching to a new iPhone can be an exciting yet overwhelming process. There’s so much to learn, from backing up your old device to transferring all your precious data. But fret not – this step-by-step guide contains everything you need to know about seamlessly transitioning to your new iPhone.
Step 1: Backup Your Old iPhone
To prevent any data loss, create a backup of your old iPhone before switching. You can choose between backing up via iCloud or using iTunes/Finder on your computer.
For iCloud:
1. Connect your iPhone to Wi-Fi.
2. Go to Settings > (Your Name) > iCloud.
3. Scroll down and tap on “iCloud Backup.”
4. Tap “Back Up Now.”
For iTunes/Finder:
1. Connect your iPhone to your computer.
2. Open iTunes (on PC or Mac running macOS Mojave/Lower) or Finder (on Mac running macOS Catalina/Higher).
3. Select your device.
4. Under Backups, choose “Back Up Now.”
Step 2: Prepare Your New iPhone
Unbox your new iPhone and remove any protective covering. Place the SIM card from your old iPhone into the new one by using the SIM eject tool provided in the box.
Step 3: Turn on Your New iPhone
Press and hold the power button until the Apple logo displays on the screen.
Step 4: Quick Start Process
Hold your old iPhone near the new one, and wait for the Quick Start prompt to appear on the old device.
Step 5: Set Up Face ID or Touch ID
When prompted, set up either Face ID or Touch ID as per the specifications of your new iPhone model.
Step 6: Transfer Data
You can opt for either iCloud backup or an iTunes/Finder transfer, based on what you did in Step 1:
For iCloud:
1. Sign in with your Apple ID on your new iPhone.
2. Choose “Restore from iCloud Backup.”
3. Select the most recent backup made in Step 1.
For iTunes/Finder:
1. On the “Apps & Data” screen of your new iPhone, choose “Restore from Mac or PC.”
2. Connect your new iPhone to the same computer used for the backup.
3. Select “Restore Backup” in iTunes/Finder and choose the correct backup.
Step 7: Sync Additional Data
After transferring data, sync your contacts, emails, notes, and other accounts by signing in to your iCloud or other relevant accounts on your new iPhone.
Step 8: Download Apps
Manually download apps from the App Store, or restore them from a backup if you’ve created one using an app manager like iMazing.
Step 9: Organize Your New iPhone
Now that all your data has been transferred, spend some time organizing apps, setting up widgets, and personalizing your new iPhone’s appearance.
With these nine steps, you’re all set to enjoy your brand-new iPhone without losing any important data. Switching iPhones has never been so seamless!
