How to Sew a Shirt Collar: 13 Steps

Sewing a shirt collar can seem like an intimidating process, but with a little practice and patience, you’ll be creating professional-looking collars in no time. Follow these 13 steps to master the art of sewing a shirt collar.
1. Choose your fabric: Select a high-quality fabric that coordinates well with the rest of your shirt. Cotton blends are popular choices for collars because they are easy to work with and provide a crisp finish.
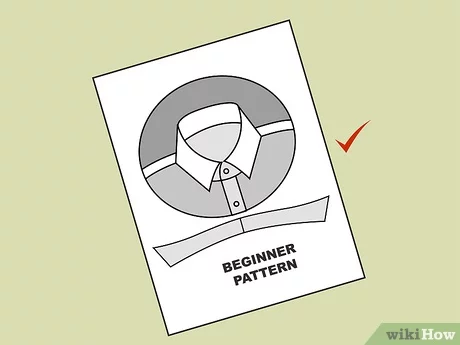
2. Cut out collar pieces: Using a collar pattern as your guide, cut out the required number of pieces — usually two for the collar itself and two for the collar stand, also known as the collar band.
3. Interface application: Apply interfacing to one of the collar pieces and one of the collar stand pieces to give your collar structure and stability.
4. Pin and sew collar pieces: With right sides facing each other, pin the two collar pieces together along their outer edges, leaving the neckline edge open. Sew using a straight stitch within the seam allowance.
5. Trim and turn: Trim the seam allowance close to the stitching line and clip any corners or curves as needed. Turn your collar right side out, ensuring corners are sharp using either a point turner or by gently pushing them out with a pin or another slender object.
6. Press: To ensure your collar lays flat, press it carefully after turning it right side out.
7. Baste neckline edge: Align the raw edges of both collar pieces at the neckline edge and baste them together within the seam allowance to keep them stable while you attach your collar stand.
8. Prepare collar stand: Pin both collar stand pieces together along their curved outer edge with right sides facing each other, then sew within the seam allowance.
9. Attach collar to collar stand: With right sides facing up, align the basted neckline edge of your collar with the unfinished edge of the interfaced collar stand. Baste this edge together, ensuring your collar is centered within the stand.
10. Connect collar stands: Fold the non-interfaced collar stand over the collar, making sure to align the seams at both ends. Sew along the basted edge to attach both collar stand pieces to your collar, being careful not to catch any other parts of your shirt in this seam.
11. Trim, turn, and press: Trim seam allowances, clip any corners or curves as needed, and gently turn your collar stand right side out. Press your collar stand to ensure a crisp finish.
12. Topstitch: To secure your seam allowances and give a neat finish, topstitch around the entire outer edge of the collar stand and around the outer edge of your collar.
13. Attach to shirt: Align the raw edge of your finished collar with the neckline of your shirt. Pin into place and sew with a straight stitch within the seam allowance to complete the attachment process.
And there you have it! With these 13 simple steps, you’ll be confidently sewing shirt collars like a pro in no time. Happy sewing!


