
How to Rough Plumb a Basement Bathroom
Constructing a basement bathroom is no small task, but the benefits can be significant. Not only will it add value to your home, but it also provides the convenience of an additional bathroom. One of the most crucial steps is rough plumbing, which involves laying out the plumbing system before you install fixtures and finish work. In this article, we will guide you on how to rough plumb a basement bathroom efficiently.
Step 1: Create a Plan
Before you begin any work, create a detailed plan for your basement bathroom layout. This plan should include the position of plumbing fixtures such as the toilet, sink, and shower or bathtub. Decide on the right location for each component and ensure you have adequate space for all elements. Make sure you take into account any obstructions such as beams, columns, or ducts while planning your layout.
Step 2: Gather Necessary Tools and Materials
The essential tools and materials required for rough plumbing work include PVC pipe primer and glue, PVC pipe cutter, pipe wrenches, drainpipes (PVC or ABS), vent pipes, T-fittings, elbows and adapters. You will also need basic tools like a hammer, tape measure, leveler, string line and utility knife.
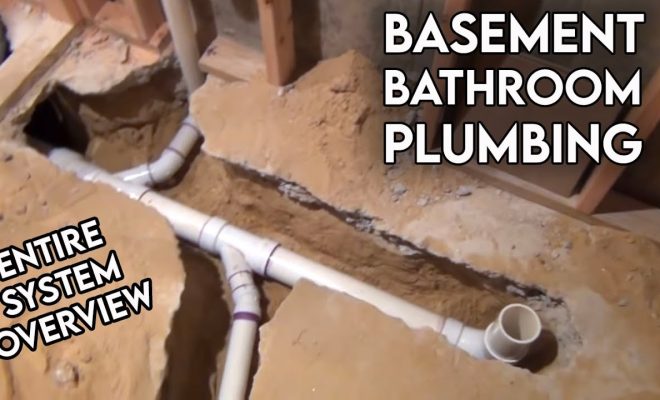
Step 3: Install Drainage Pipes
Begin by connecting the main sewer line to your basement bathroom’s drain system. Cut through the concrete floor to create a channel for your drainage pipes from each fixture to the main sewer line.
– For toilet installation: Use a 3-4 inch drainpipe with an elbow connected to an appropriate closet flange that will set in place with concrete.
– For sink installation: It usually requires a 1.5-2 inch drainpipe connected to an adjacent vent pipe using a vertical sanitary tee.
– For shower or bathtub installation: A standard size is 2-inch drainpipe connected to a P-trap, which can be linked to the main drain line using a Y-fitting.
Remember to slope the pipe correctly (1/4 inch per foot) towards the main sewer line to ensure good drainage.
Step 4: Install Vent Pipes
Small vent pipes are needed for appropriate airflow and to prevent the emptying of water traps in drains. Attach each fixture’s drainpipe to its corresponding vent pipe, generally running vertically towards the ceiling. All vent pipes should be connected to a single pipe leading through the roof or to another acceptable vent.
Step 5: Install Supply Lines
Cold and hot water supply lines need to be installed for your sink, shower or bathtub, and toilet. Copper, PEX, or CPVC are commonly used materials for supply lines. Choose an appropriate material based on your preference and local code requirements.
– For toilet: A standard size is 3/8-inch supply line with shut-off valve.
– For sink: Use individual supply lines along with two shut-off valves – typically one for cold water and one for hot water.
– For shower or bathtub: You will require a tub spout, showerhead and mixing valve. The hot and cold water supply should be connected through the appropriate valves.
Run these supply lines from your home’s main water system following your local building codes.
Step 6: Perform Pressure Test
Before closing up walls or floors, perform a pressure test on your plumbing system. A pressure gauge connected to any fixture outlet can help you ensure there are no noticeable leaks in your setup. In case of potential issues, repair them before moving forward with finishing the bathroom construction.
Conclusion
Rough plumbing is a crucial stage when installing a new bathroom in your basement. Ensure that you follow local building codes and regulations when designing and constructing your plumbing system.


