How to Register a DLL

Registering a DLL (Dynamic Link Library) is an essential task when setting up certain software applications and working with Windows operating systems. DLL files contain functions and resources that can be utilized by multiple programs simultaneously. To harness the full functionality of these files, it’s important to know how to register them properly. In this article, we will walk you through a step-by-step process for registering a DLL on your computer.
Step 1: Locate the DLL file
Before you register a DLL, you need to locate the file on your computer. Usually, it comes with the software that requires the file or as part of a software development kit (SDK). Most commonly, you can find DLL files in ‘System32’ or ‘SysWOW64’ folders in the Windows directory.
Step 2: Run Command Prompt as Administrator
To register a DLL, you need administrative privileges. Hence, it’s necessary to run Command Prompt as an administrator.
1. Click on the Start button and type ‘cmd’ into the search bar.
2. Right-click on ‘Command Prompt’ in the search results and select ‘Run as administrator’.
Step 3: Register the DLL
For this step, there are two different methods depending on the operating system you’re using: 32-bit (x86) or 64-bit (x64). Please follow the instructions corresponding to your OS.
Method 1: For 32-bit (x86) operating systems
1. In the Command Prompt window, type or paste:
regsvr32 “PATH\FILENAME.dll”
Replace PATH with the folder path where your DLL file resides and FILENAME with the actual name of the file.
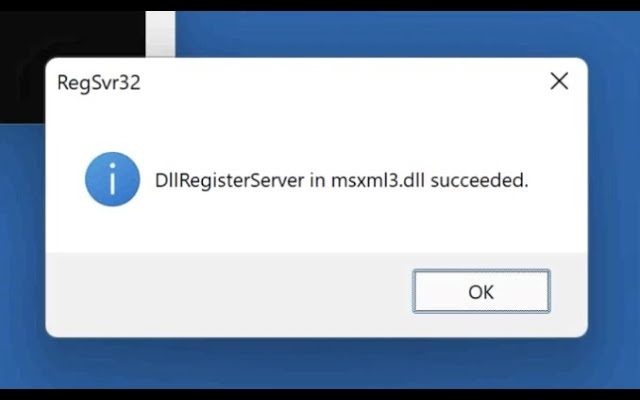
2. Press Enter. You should receive a message saying that your DLL has been registered successfully.
Method 2: For 64-bit (x64) operating systems
1. In the Command Prompt window, type or paste:
regsvr32 “C:\Windows\SysWOW64\FILENAME.dll”
Replace FILENAME with the actual name of the file.
2. Press Enter. You should receive a message saying that your DLL has been registered successfully.
Note: If the above command doesn’t work on a 64-bit system, try registering the DLL using this alternative command:
regsvr32 “C:\Windows\System32\FILENAME.dll”
Step 4: Restart your computer
Once you have registered your DLL successfully, it’s a good idea to restart your computer. Doing so ensures that all running applications and services can access the newly registered DLL without any issues.
Now that you know how to register a DLL, you can ensure proper functionality and seamless software operation on your Windows system. Just follow these simple steps, and you’ll be up and running in no time.


