How to Read a Dial Indicator: 15 Steps
A dial indicator is a precise measuring tool that’s commonly used in the mechanical, industrial, and engineering fields. This device helps to measure small linear distances with high accuracy. If you’re new to using a dial indicator, this article will guide you through 15 easy steps to read one effectively.
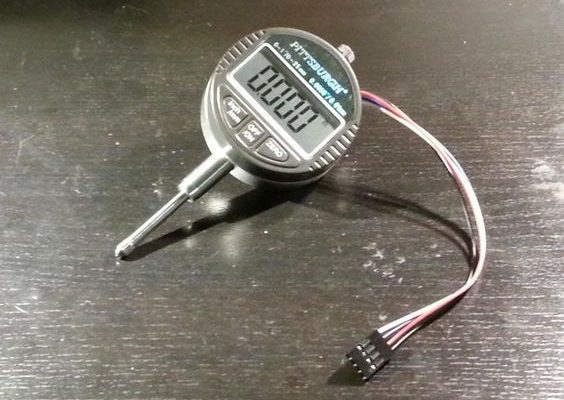
1. Familiarize yourself with the parts: A dial indicator has three main components – the dial face, the needle, and the plunger. Get familiar with these parts before using the tool.
2. Zero out the dial: Before taking any measurements, ensure the dial is set to zero by rotating its outer ring.
3. Select a suitable stand: To achieve accurate measurements, use a magnetic or fixed stand to hold the dial indicator steady during measurements.
4. Secure the workpiece: Make sure your workpiece is firmly clamped or held in place to prevent movement during measurements.
5. Position the plunger: Place the plunger’s tip against the workpiece surface you wish to measure.
6. Preload the plunger: Apply slight pressure on the plunger tip so that it compressed slightly (usually about halfway).
7. Adjust for alignment: Ensure that the plunger and needle are properly aligned to obtain consistent readings.
8. Record initial reading: Take note of your starting measurement on the dial’s face – this could either be zero or a different value based on your requirements.
9. Move workpiece or dial indicator: Shift either your workpiece or dial indicator depending on what you’re measuring (e.g., flatness, taper, or roundness).
10. Reapply pressure on plunger: Reposition and preload your plunger onto the next point of measurement on your workpiece.
11. Read and record new measurement: Observe new readings on the dial’s face (note any difference between initial and new readings).
12. Use scales for added accuracy: Dial indicators often have fixed and adjustable scales to help increase your measurement’s precision.
13. Make additional measurements: Repeat steps 9-12 as needed to obtain all necessary measurements for your workpiece.
14. Calculate final values: To determine the desired output, perform any required calculations like averaging the measurements, finding differences, or calculating percentage changes.
15. Clean and store your dial indicator: After use, gently clean the dial indicator with a soft cloth and store it safely in a protective case or box.
By following these 15 simple steps, you’ll become proficient in reading a dial indicator, allowing you to make highly accurate measurements in various applications. Remember – practice makes perfect, so don’t hesitate to experiment with different types of measuring tasks using your dial indicator.