How to Play DVDs on HP Laptops
Playing DVDs on a laptop is a common activity for people who love to watch movies or TV shows. For HP laptop users, playing DVDs is a simple process that requires a few steps. Here’s a complete guide on how to play DVDs on HP laptops.
Step 1: Make sure your HP laptop has a built-in optical drive
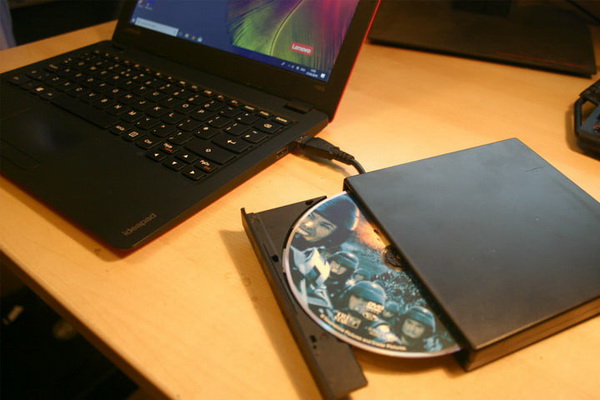
Before you can play DVDs on your HP laptop, you need to ensure that it has a built-in optical drive. Most laptops come with a DVD drive, but some newer models don’t have one. If your HP laptop doesn’t have a DVD drive, consider purchasing an external DVD drive that connects via USB.
Step 2: Insert the DVD into the optical drive
Once you have confirmed that your HP laptop has a DVD drive, insert the DVD you want to play into the drive. Make sure you insert the DVD in the correct orientation (label side up).
Step 3: Open the DVD player application
Most HP laptops come with a default DVD player application. To open the DVD player application, go to the Start menu and look for the DVD player program. Click on the program to open it.
If your HP laptop doesn’t have a default DVD player application, you can download third-party software like VLC media player.
Step 4: Start the DVD
Once you have opened the DVD player application, the DVD should start playing automatically. If it doesn’t, click on the play button or navigate to the menu that shows the DVD’s contents.
Step 5: Adjust the settings
If you want to adjust the settings for the DVD player, click on the options or settings button in the application. You can adjust the aspect ratio, audio settings, subtitles, and other options.
Step 6: Eject the DVD
When you’re done watching the DVD, eject it from the drive by pressing the eject button or right-clicking on the drive in the file explorer and selecting eject.
In conclusion, playing DVDs on an HP laptop is a simple and straightforward process. By following the steps mentioned above, you can start watching your favorite movies or TV shows on your HP laptop in no time.