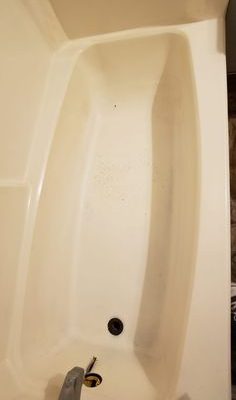
How to Paint the Bathtub

Are you looking to give your old bathtub a fresh, brand new look? Painting is an affordable and practical solution that can help you achieve this. Read on to learn how you can easily transform your bathtub by painting it yourself!
Step 1: Gather Your Materials
To begin your bathtub painting project, gather the following items:
– A high-quality epoxy bathtub paint
– A paint roller and brushes
– Painter’s tape
– Sandpaper (400-grit)
– A rag or sponge
– TSP (trisodium phosphate) cleaner
– Groove tool (if needed)
– Plastic wrap and plastic drop cloth
Step 2: Clean and Prep the Surface
Start by giving your bathtub a thorough cleaning using TSP cleaner. Follow all product instructions and ensure that you remove any dirt, mildew, or soap scum. Rinse thoroughly with water before allowing the tub to dry completely.
Next, apply painter’s tape around the edges of the bathtub to protect surrounding surfaces, including tiles, faucets, and hardware.
Step 3: Sanding the Surface
Using 400-grit sandpaper, lightly sand the entire surface of the bathtub to create a rougher surface for proper paint adhesion. If your tub has extreme glossy areas or deep grooves, consider using a groove tool for better results.
After sanding, carefully wipe down the entire surface with a damp rag or sponge to remove any leftover dust particles.
Step 4: Apply the Paint
Follow your chosen epoxy paint’s instructions for mixing the components. Start with a thin and even first coat, using a brush for tight areas near fixtures and hardware, and a roller for broader areas.
Allow ample drying time based on the product instructions before applying a second coat. For optimal adhesion and durability, it is crucial not to rush between coats.
Step 5: Clean Up and Let Dry
Remove the painter’s tape and any protective materials you may have used. You should also dispose of used paintbrushes, rollers, and other supplies according to the epoxy paint manufacturer’s guidelines.
Let your freshly painted bathtub dry for the recommended amount of time indicated in the product instructions, generally 24 to 72 hours.
Step 6: Enjoy Your Revitalized Bathtub!
After allowing your bathtub to fully dry and cure, it’s ready for use! Enjoy your beautifully rejuvenated bathtub and the satisfaction that comes with tackling a DIY project.
Remember to maintain your newly painted tub by ensuring proper cleaning and care. With some effort, you can give your old bathtub a stunning makeover that can add both visual appeal and value to your bathroom.


