How to Paint on Velvet: 14 Steps

Velvet, a luxurious and delicate fabric, brings beauty and elegance to your paintings when you choose it as your canvas. It may be daunting at first, but with these 14 steps, you’ll find painting on velvet much easier than you thought.
1. Choose the right velvet: The choice of velvet is essential for a successful painting. Opt for synthetic or rayon blends over natural fabrics like silk or cotton to ensure that the paint adheres well and lasts longer.
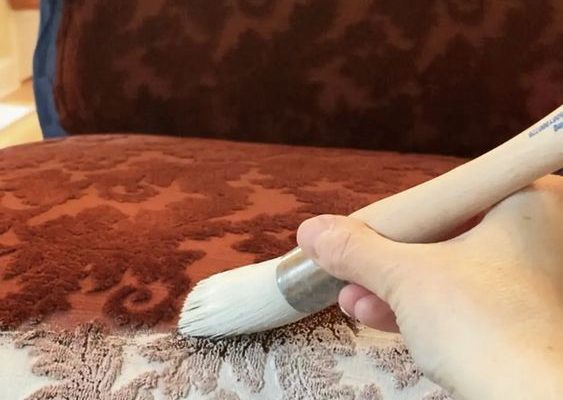
2. Prepare the surface: Before starting, gently clean the velvet with a soft brush or a lint roller to remove any dust or debris.
3. Stretch the velvet: To avoid wrinkles and to provide a tight surface for painting, stretch the fabric onto a frame or tape it to a flat surface.
4. Prime the velvet: Although not always necessary, using fabric primer helps create an even surface for paint application. Apply a thin layer and allow it to dry completely before proceeding.
5. Sketch the design: Using chalk or disappearing fabric markers, lightly sketch your design onto the velvet to serve as your guideline.
6. Choose suitable paints: Opt for fabric paints specifically designed for use on textiles and available in various colors and finishes (opaque, transparent, metallic).
7. Select the right brushes: Use soft-bristle brushes of various sizes to apply paint without damaging the delicate fibers of the velvet.
8. Test your colors: On a small piece of velvet, test your colors and techniques before starting your main painting to ensure compatibility.
9. Begin painting: Start with lighter colors and work your way towards darker ones using thin layers of paint to avoid saturating the fibers and creating a stiff texture.
9. Apply shading: Use subtle shading techniques rather than bold colors to maintain the delicate appearance of velvet paintings.
10. Add embellishments: Consider using rhinestones, beads, embroidery, or other decorative elements to enhance your velvet painting.
11. Drying and setting the paint: Allow the painted fabric to dry completely, ideally for 24 hours. Then, heat set the paint according to the manufacturer’s instructions to make it permanent and washable.
12. Frame or display your artwork: Choose a suitable frame or display method that will protect and showcase your beautiful velvet painting.
13. Proper care: To maintain your painting’s appearance, avoid excessive exposure to direct sunlight, moisture, and dust. Spot clean with a mild detergent when necessary and never iron directly on the painted area.
By following these 14 steps, you’ll be well on your way to creating unique, eye-catching paintings on velvet that are sure to impress friends and family alike. Happy painting!


